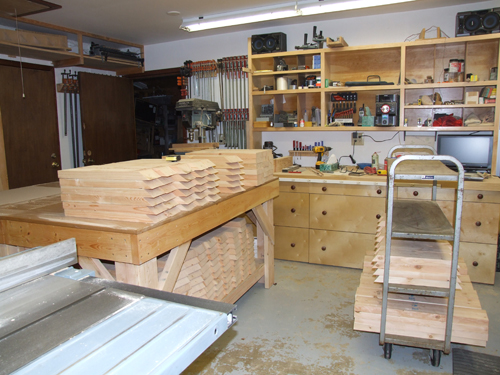

As Dan built his prototype he rearranged
his shop to accomodate the necessary work stations. He built an assembly table,
jigs, radial arm saw bench, and a raised plywood cutting area.
January
2010
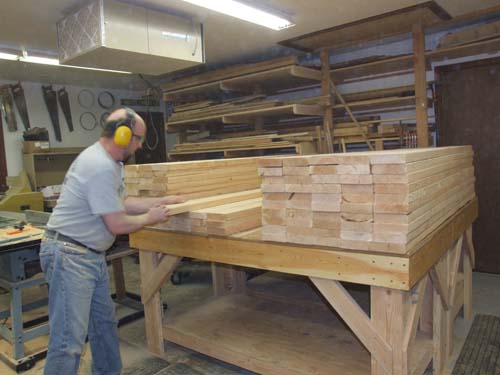
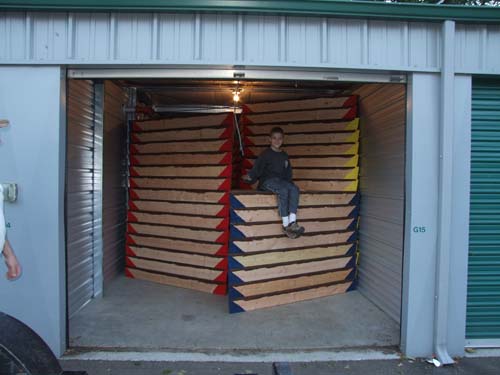
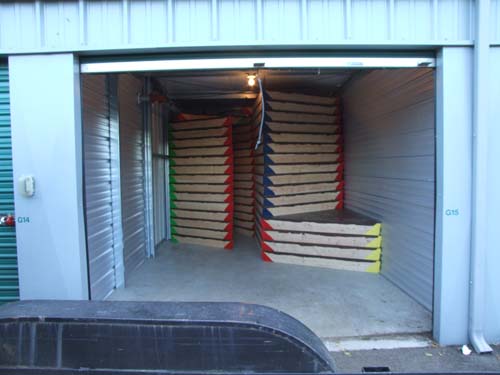
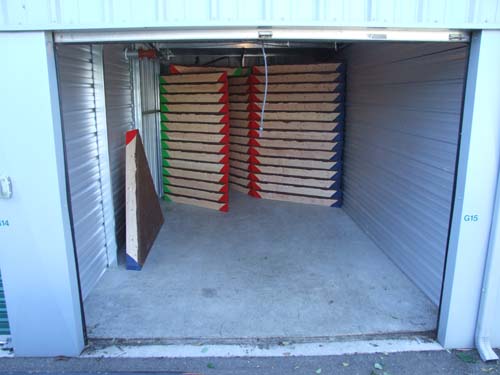
Time to begin the construction of the dome panels. Dan cut the 2x6 and 2x8s to rough length. We converted the bedroom next to the shop back into shop space and filled it with the lumber needed for the shop and cabin triangles. We have also rented a storage unit for the plywood and salvaged lumber. Both are very full.
Time to begin the construction of the dome panels. Dan cut the 2x6 and 2x8s to rough length. We converted the bedroom next to the shop back into shop space and filled it with the lumber needed for the shop and cabin triangles. We have also rented a storage unit for the plywood and salvaged lumber. Both are very full.
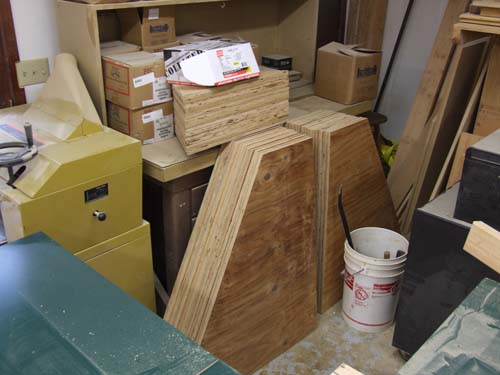
Pieces and parts for 30 triangles, except the plywood.
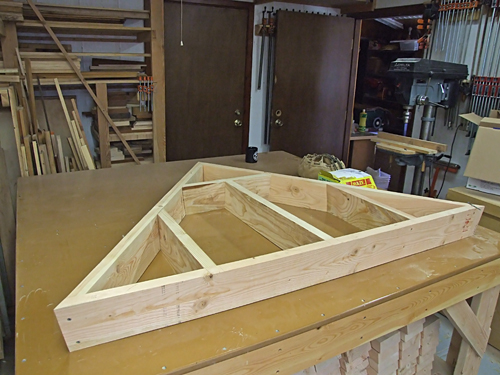
Each dome is made up of 6 different triangle. 30 of the #1's, 30 of the #2's, 30 of the #3's, 10 of the #4's, 30 of the #5's, and 30 of the #6's. For a total of 160 triangles.
Each dome is made up of 6 different triangle. 30 of the #1's, 30 of the #2's, 30 of the #3's, 10 of the #4's, 30 of the #5's, and 30 of the #6's. For a total of 160 triangles.
Triangle Building
It is Aug. 8th and we've just begun to assemble our dome. Several people
have wondered why we "waited" so long. Below are some pictures that should
explain why we have "waited" so long to start.
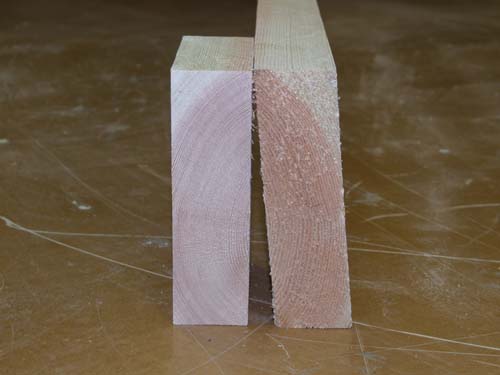
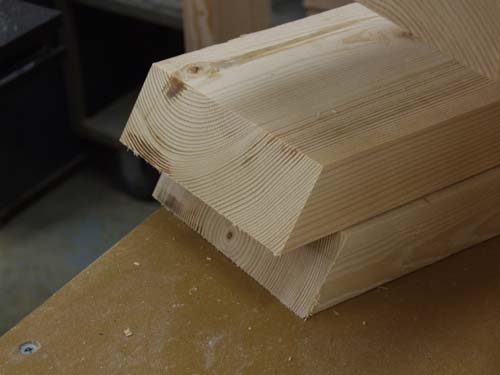
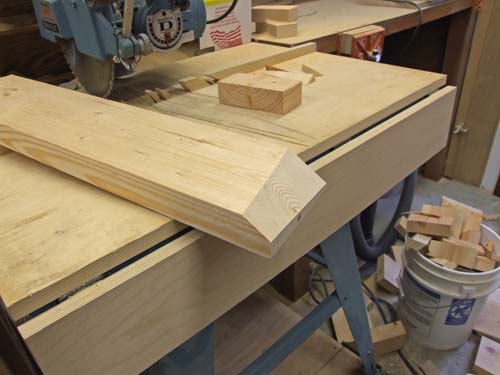
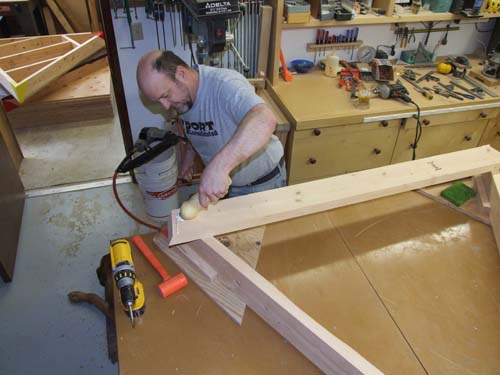
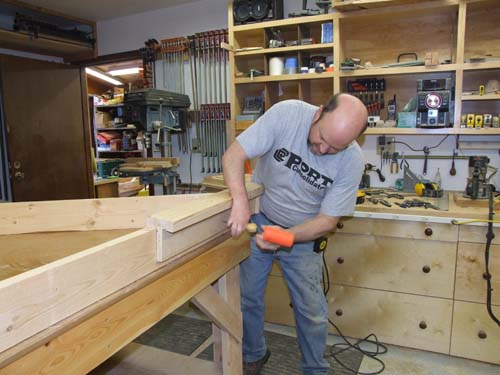
All the triangle struts are first beveled.
Then both ends are mitered to their specified angles and lengths. Then screw holes are drilled and counter sunk.
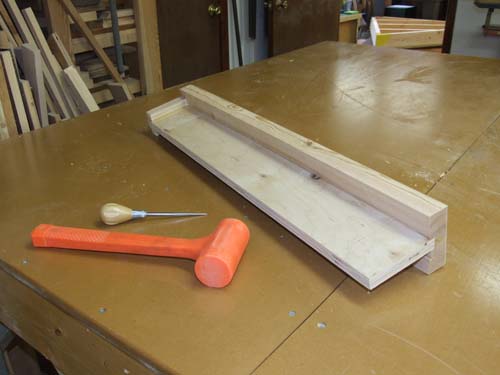
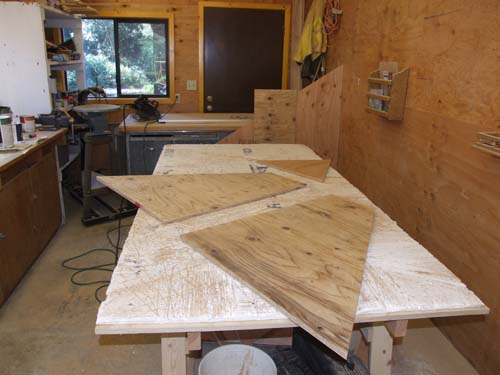
A plywood pattern is made.
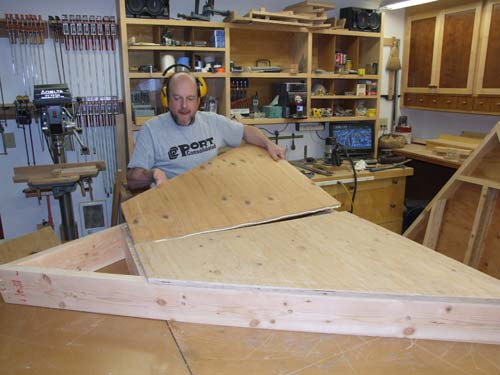
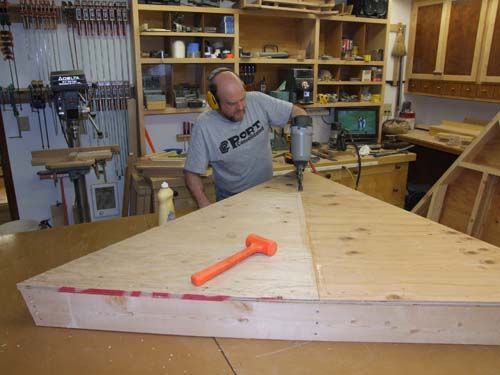
and the three sections of plywood for each triangle are cut.
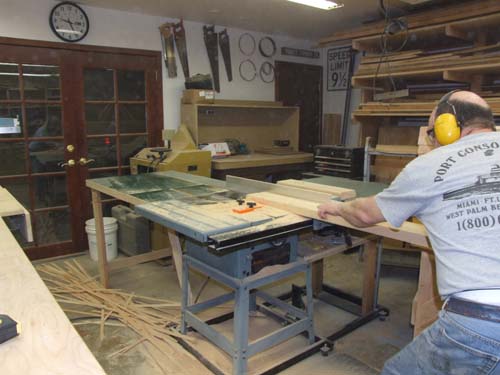
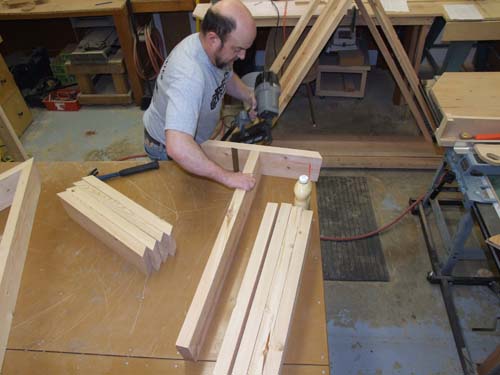
Then all the internal framing has to be ripped to width, cut to length, and mitered.
A batch of 90 struts.

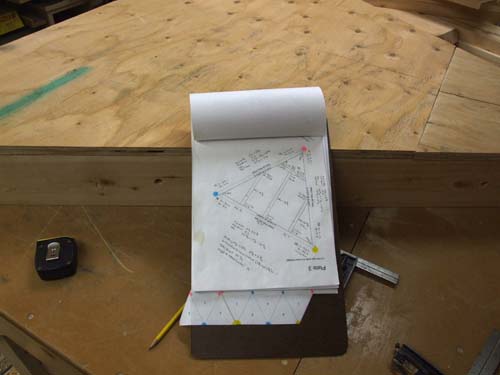
Using Google Sketchup we make a cutting plan for each different triangular panel and its blocking pattern. Dan needs the perimeter angles, swing angles, bevel angles, and lengths of each board in the outer triangle and the inner blocking pattern. The triangles with windows have a different blocking pattern.
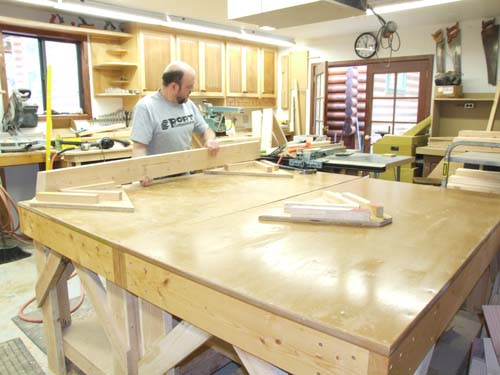
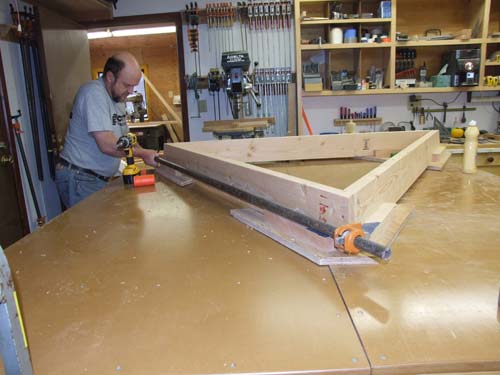
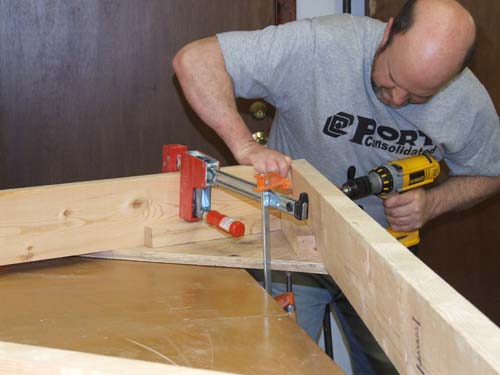
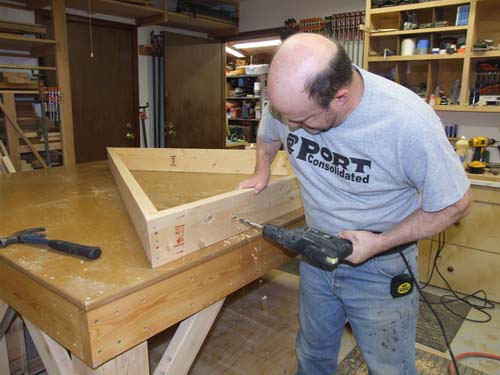
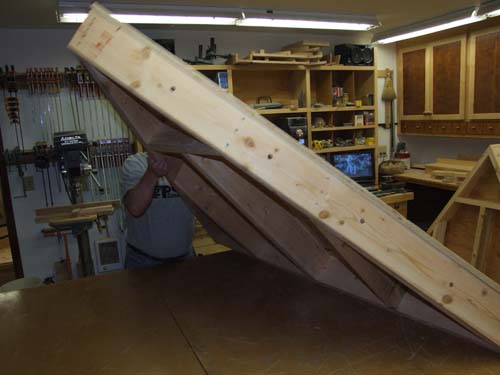
After all the pieces for a specific triangle are made it is time to begin assembly.
Dan has made assembly jigs to hold the struts in place at the correct angles.
Glue is aplied to every surface where wood touches wood.
Clamps are used to make the struts straight if the board wants to twist a little.
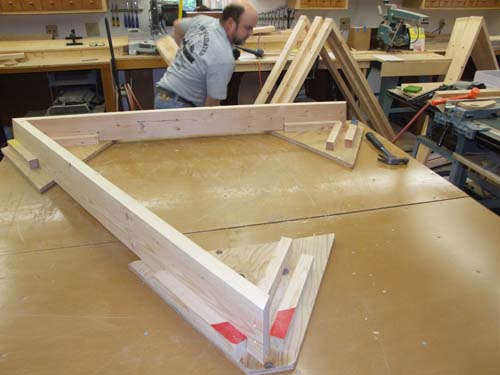
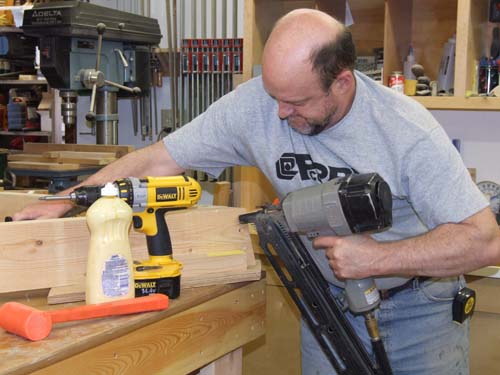
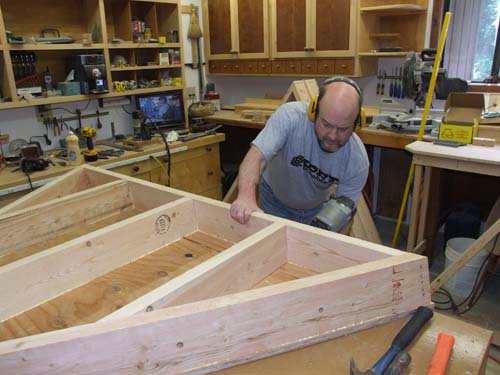
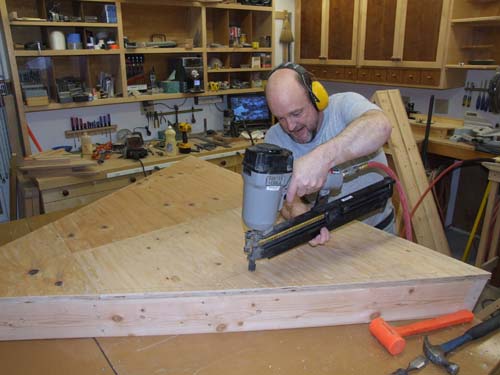
When everything is in place it is screwed together.
Then nailed together for strength.
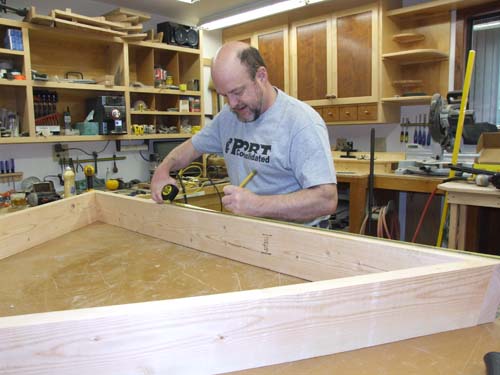
Layout lines for the internal blocking are added.
Using a jig Dan made, each strut is marked for the bolt holes.
After all three sides are marked they are drilled. When it is dome assembly time the triangular panels will be bolted together.
The T block is assembled from the pre-cut parts.
More glue.
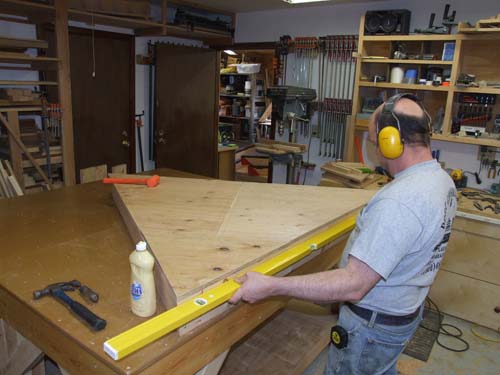
Checking for bowed sides.
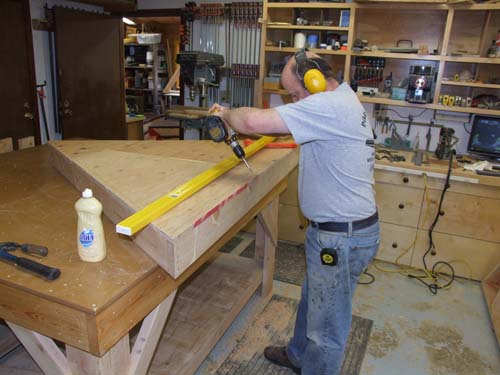
A well placed screw will bring the board into adjustment.
It is nailed on 4 inch centers.
Making sure the nails are set so as they will not wear on the roofing later.
More glue.
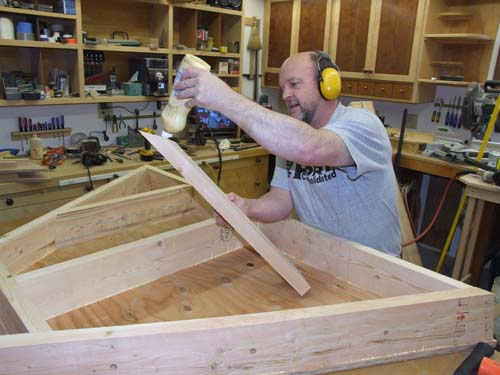
Attaching the blocking.
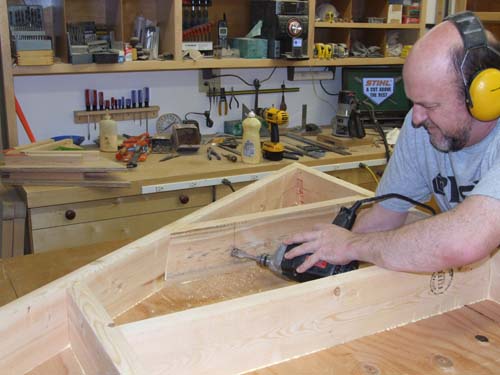
Relief holes are drilled where the blocking will later interfere with installing the bolts.
Flip the triangle over and nail the blocking.
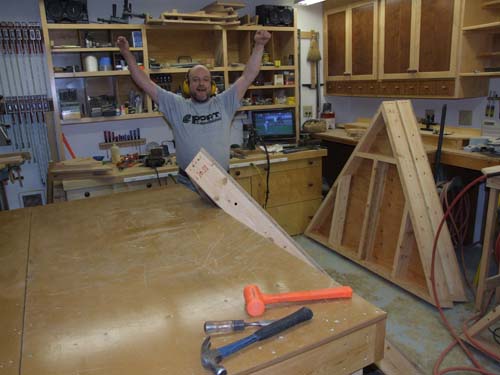
Another one complete!
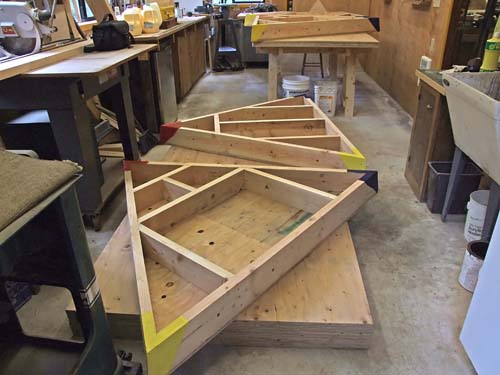


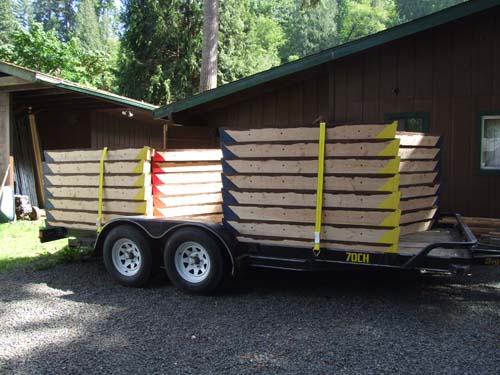
After they are built the triangles are moved into the plywood cutting/paint shop to have their corners color coded.
Then they are flipped over and the plywood is painted to protect them from absorbing water and swelling if it rains while we are putting up the dome.
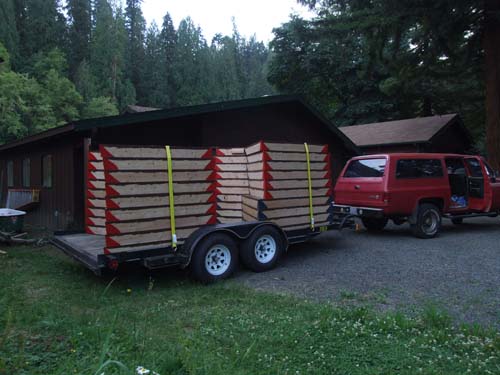
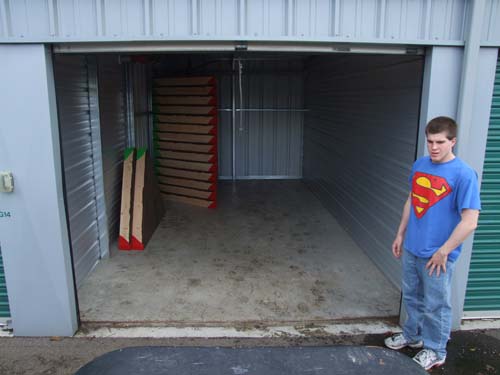
Then after a batch of them is finished they are loaded on the trailer and hauled to the storage unit.
We also now have our septic and drain field installed and a 2700 gallon water
cistern in place.
Dan has close to 390 shop hours on the fabrication of the shop triangles. That
does not count drafting time, painting, layout, hauling, and clearing out shop
scrap between batches!
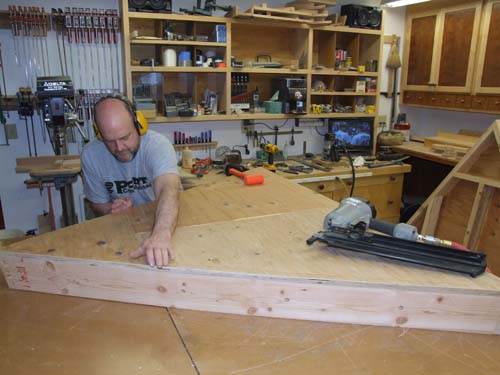
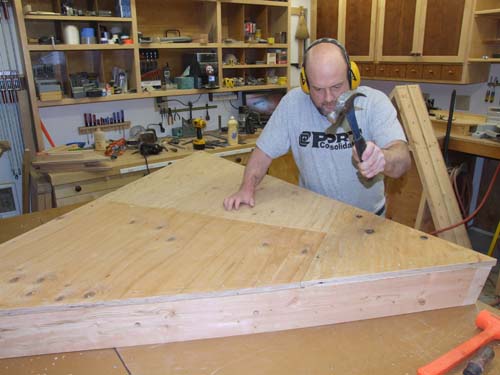
Plywood sheeting is placed.
Above are two identical panels, but one with window blocking.
and again....
and again....
#1 30 0
#2 30 0
#3 30 0
#4 10 0
#5 30 0
#6 30 0
Total 160 0
#2 30 0
#3 30 0
#4 10 0
#5 30 0
#6 30 0
Total 160 0
Triangle Completed Left to build
Triangle Counter
and adjusted
Back to 2010