"The Tenon"


Back to 2017
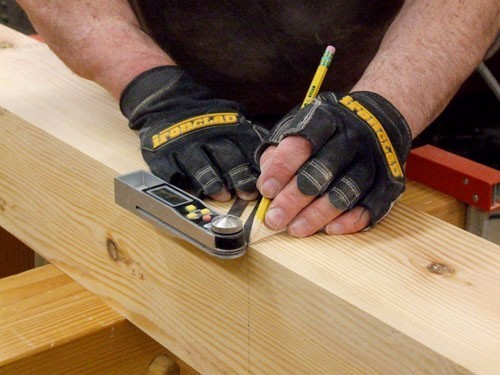
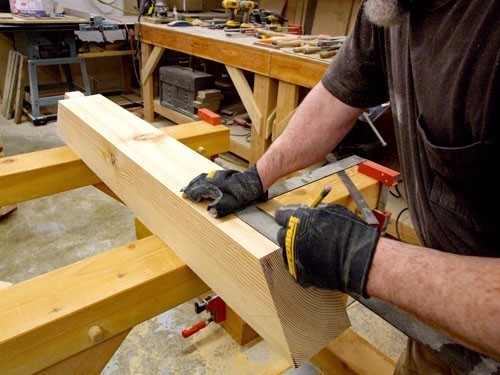
The first part of the layout.
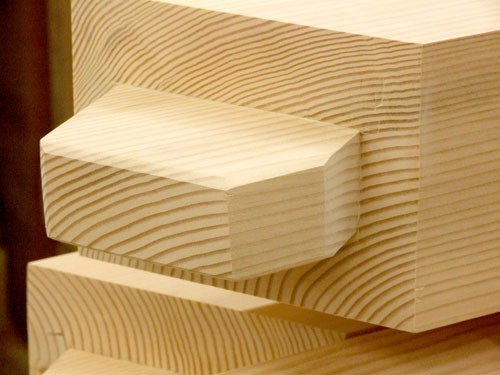
There's the tenon. Just need to remove all the wood around it.
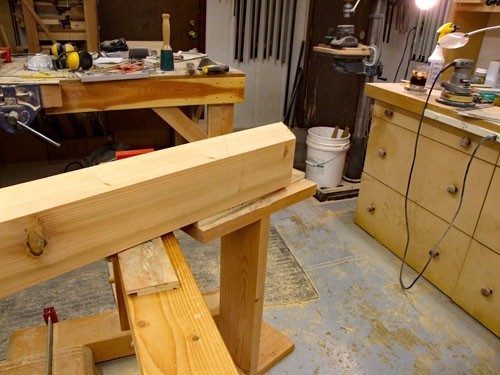
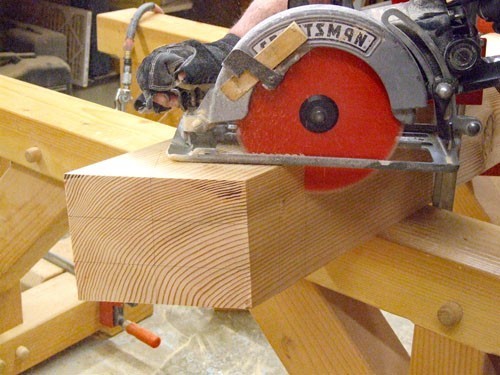
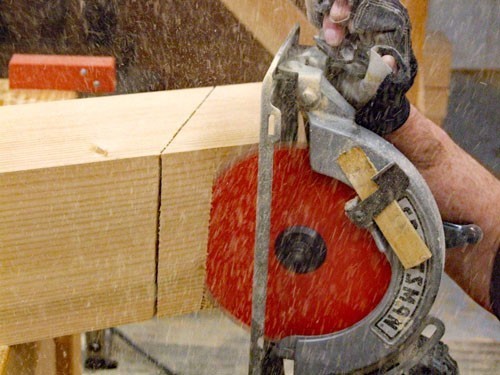
With support under the cut-off it's ready for the first cut.
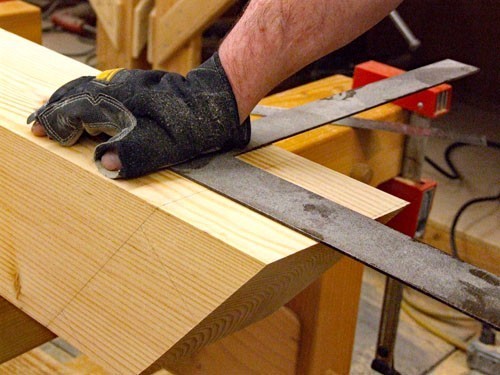
The beam saw does it in one pass.
Ready for more lay out.
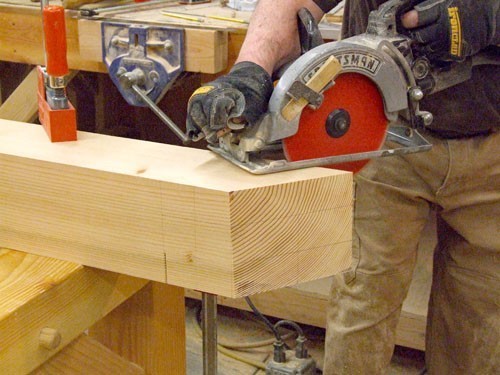
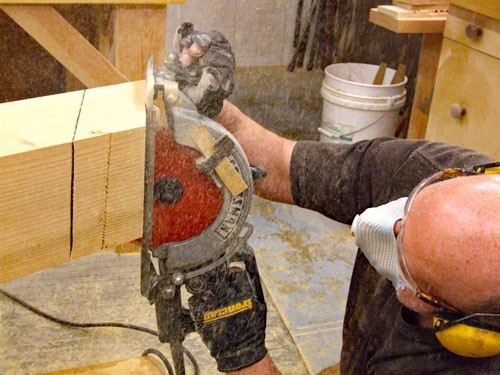
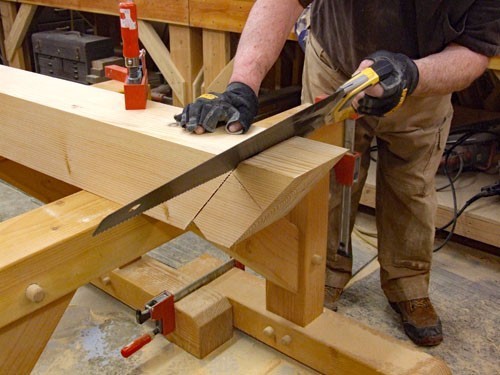
The first shoulder cut.
The shoulder cut on the opposite side.
3rd shoulder cut.
Last shoulder cut.
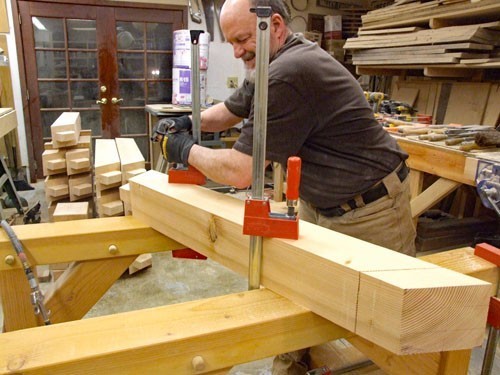
Lots of rolling over and clamping.
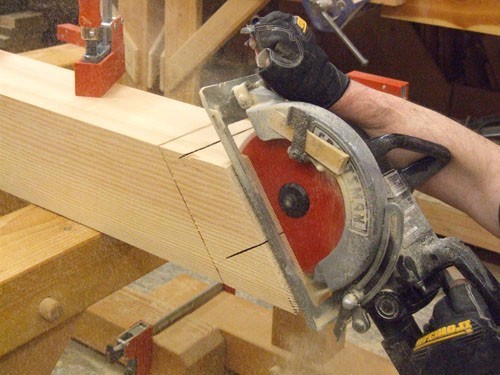
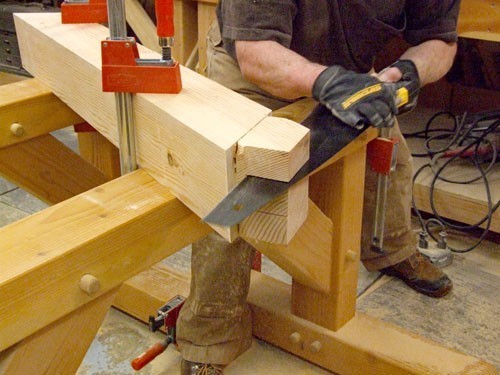
Time for the first cheek cut.
Then the second one.
More repositioning.
The third cut.
The forth and final cheek cut.
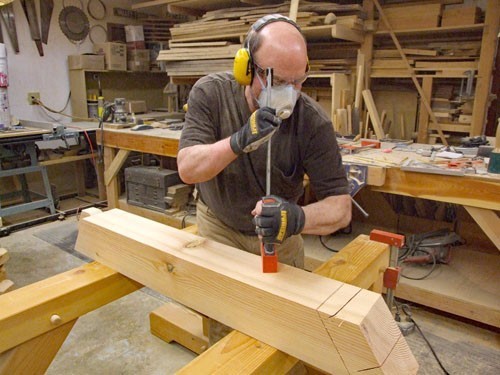
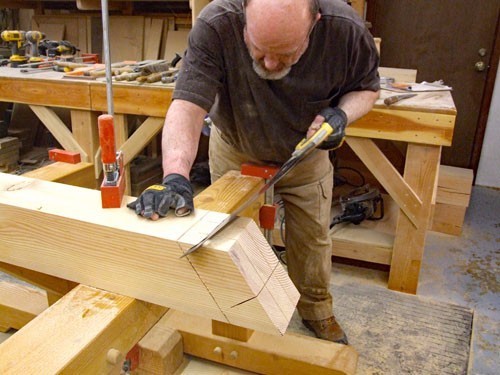
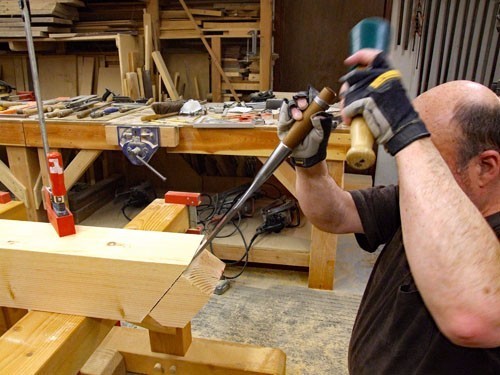
Time for a little hand saw work.
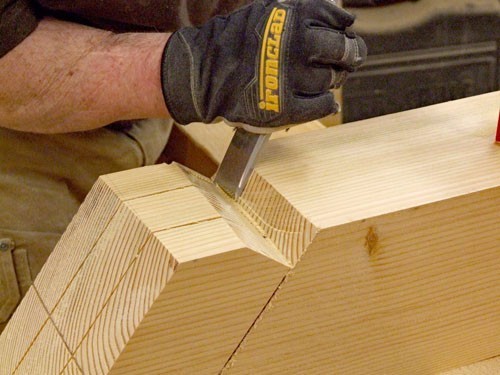
Clean up with the chisel.
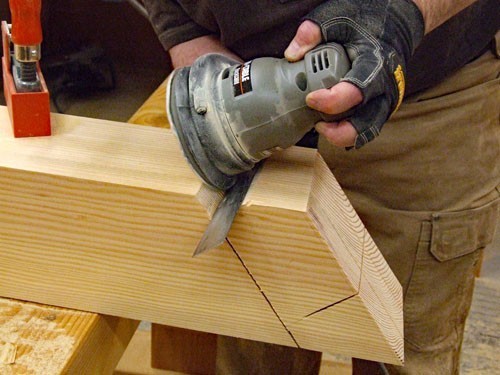
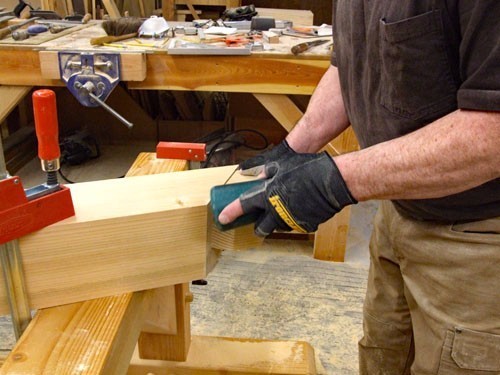
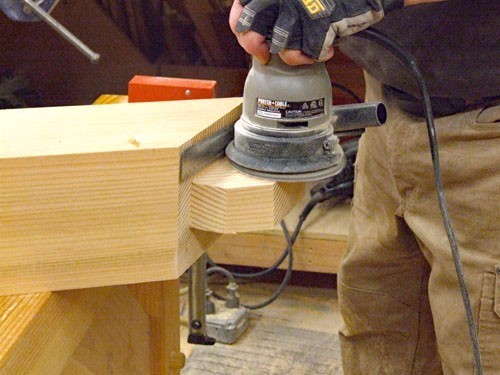
Sanding.
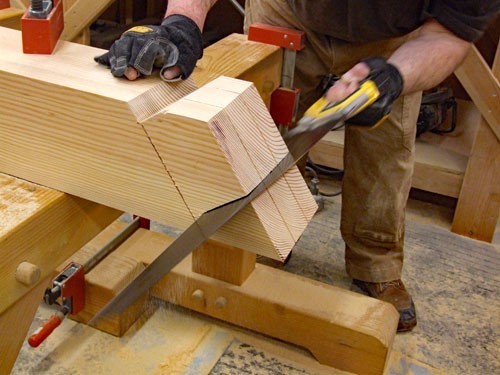
More hand sawing.
From the other direction.
A gentle tap with the mallet to remove the wood.
More clean up with the chisel.
And sanding.
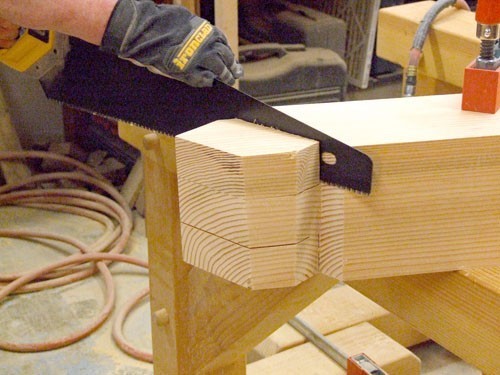
We're getting closer to our tenon.
Switching angles with the saw.
And from the top.
Removing the wood.
The final side.
Bap the scrap.
Final clean up.
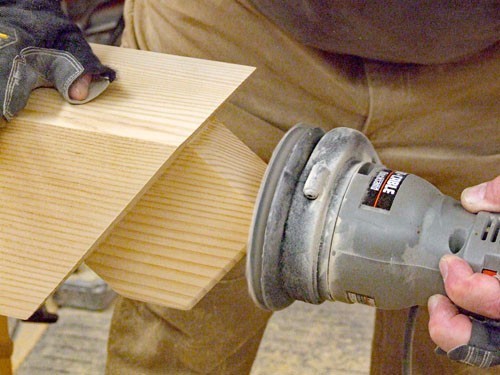
Sand it smooth.
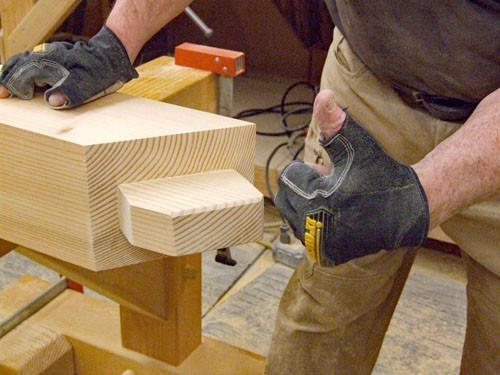
Adding a chamfer helps to ease the tenon into the mortise.
All the way around.
Click the play button to watch the making of a tenon.
And an hour later there is another beautiful tenon.