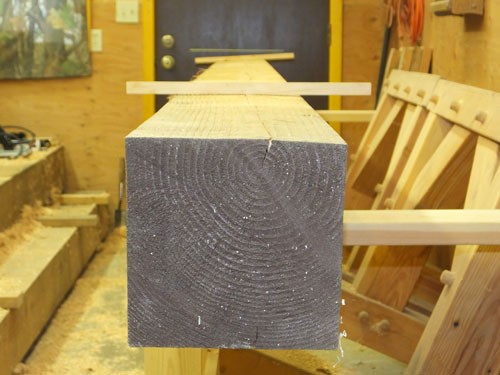
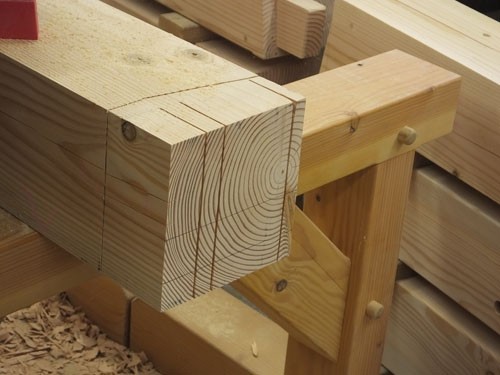
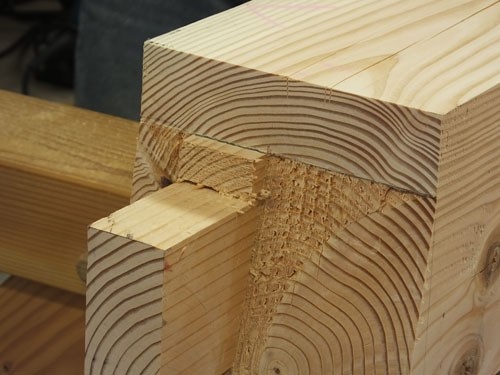
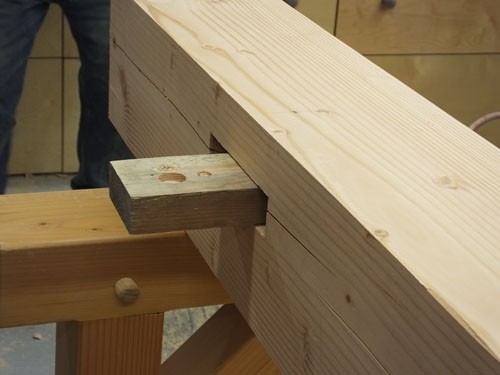
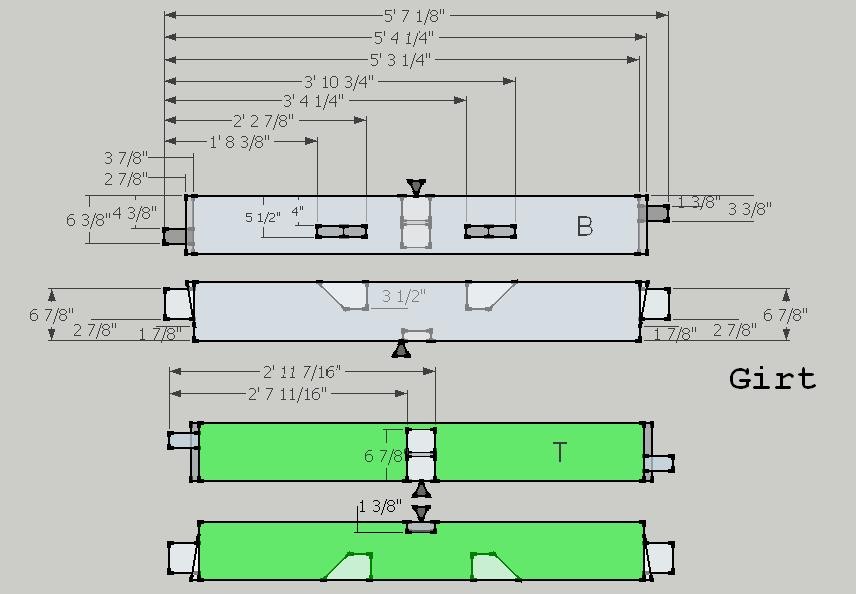
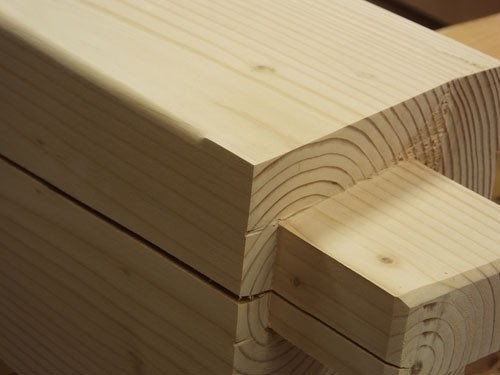
The Anatomy of a Girt.
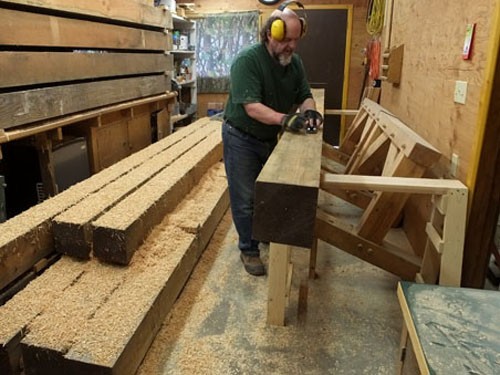


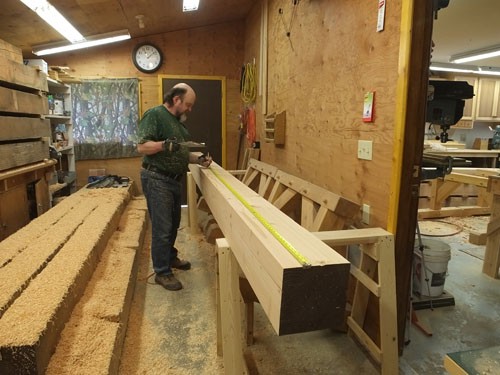
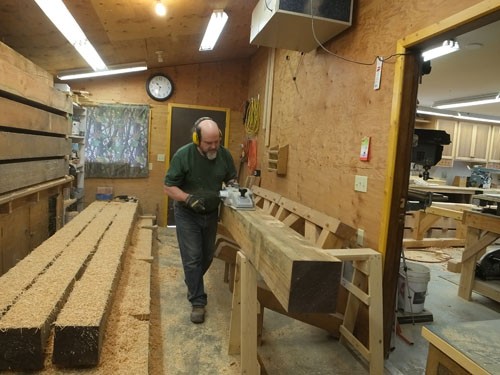


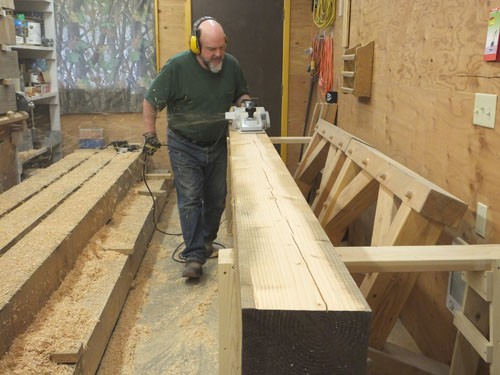


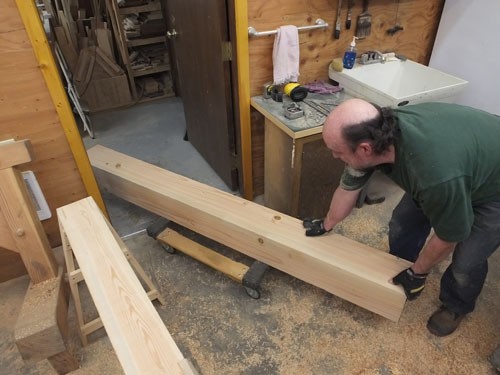


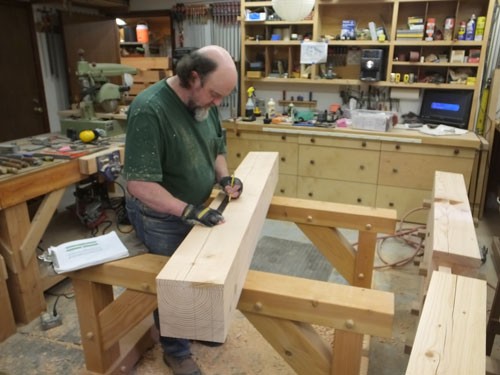


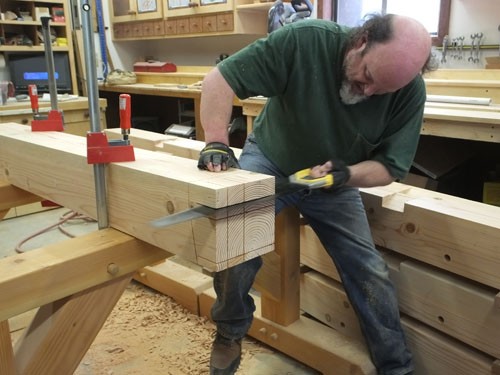


With timbers being stored in the shop there is not enough room to use the big saw horses so Dan gets out the whimpy ones and places a 14 foot 8x8 on them. This timber will make two girts.
The timbers twist and get out of square as they dry. Dan puts a shim under this edge to keep it from rocking as he works the top of the timber.
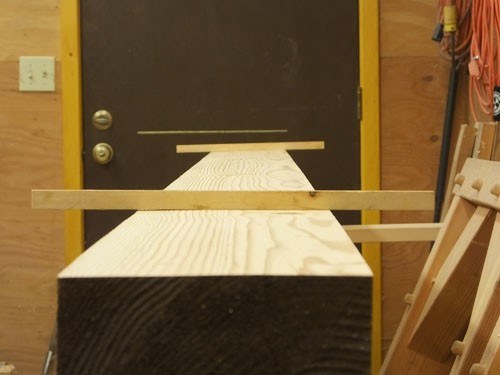
Using winding sticks and a chalk line on the door he can tell how to plane the timber to bring it back into square.
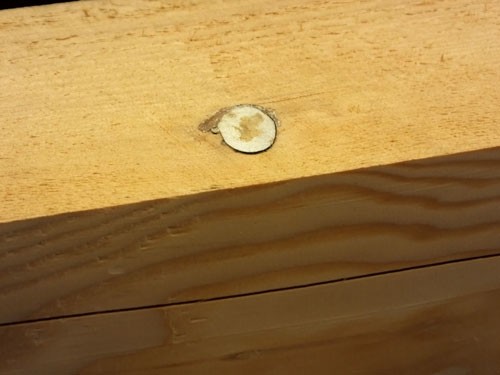
First he planes off the protruding knots with a low angle block plane so they will not interfere when running the power planer.
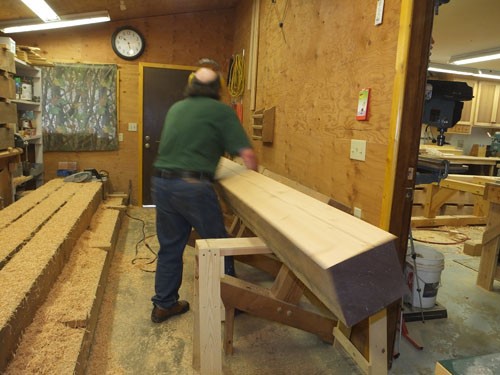
Because the heart of the wood is at the top there is a bit of a crown on this side.
He takes a few passes down the middle first to remove the crown.
Then down both sides going over the higher areas several times.
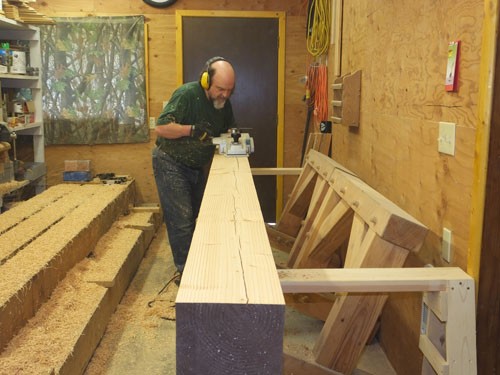
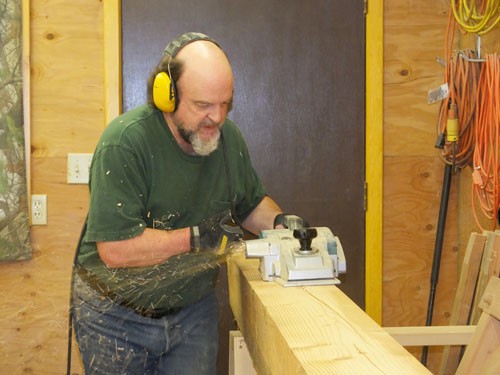
Check it again.
A couple of more passes till we're happy.
Roll it over and repeat.
And repeat, till all four sides are planed.
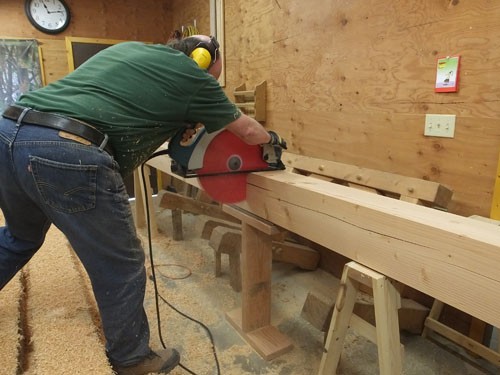
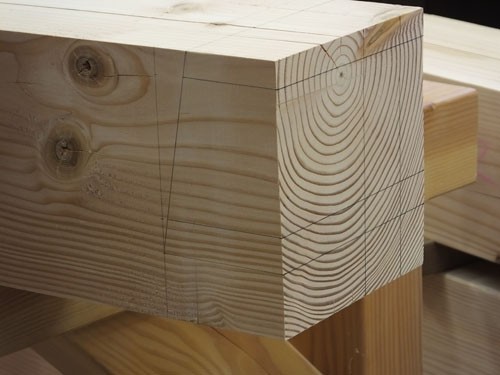
After center is marked the beam saw with it's 16 1/4 inch blade is brought out.
After the cut with the beam saw the timber is turned over and Dan finishes the cut with his skill saw (7 1/4 inch blade).
Onto the dolly and into the other shop.
And up onto
the sawhorses.
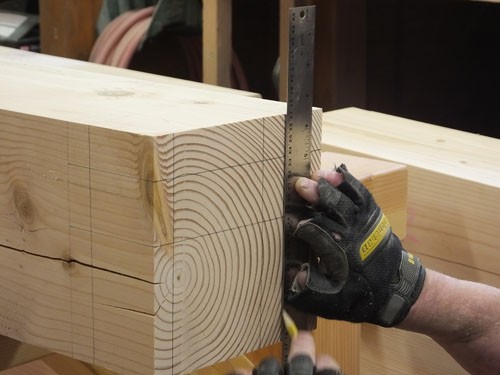
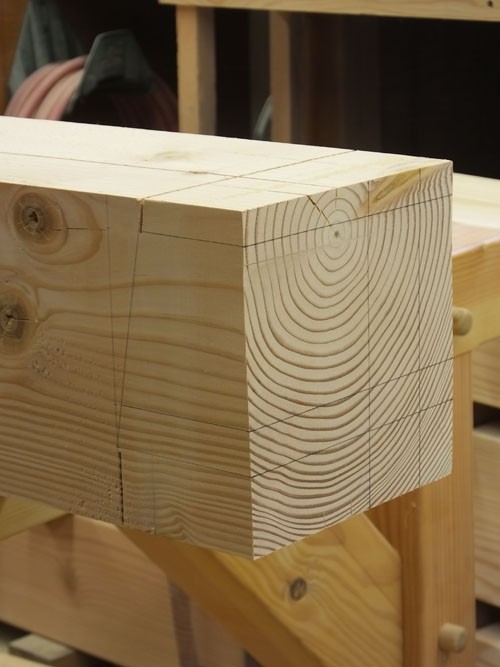
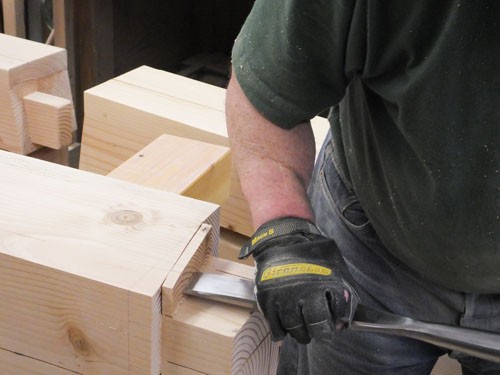
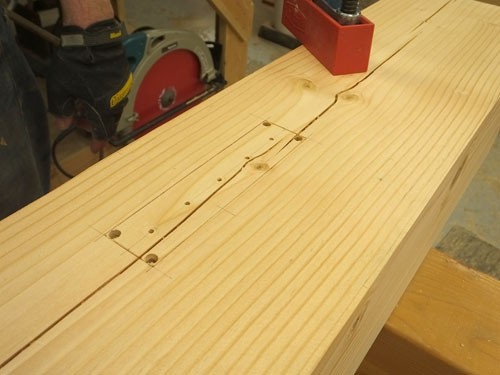
Then he picks and marks the reference side, the prominent side he will reference measurements from.
He rotates the timber and looks it over. Sometimes adjusting where the layout begins helps to keep knots and defects out of the joinery.
After picking the beginning point Dan squares up the end.
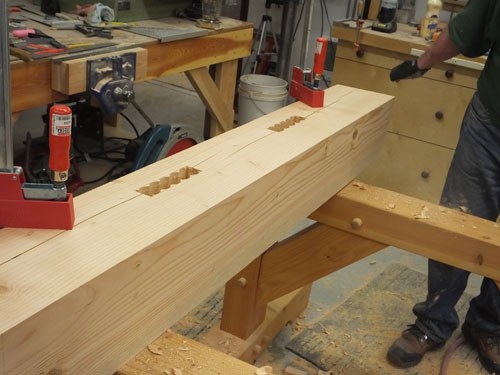
Using the drawing I made in sketchup, Dan lays out the joinery on the timber.
Lunch time!
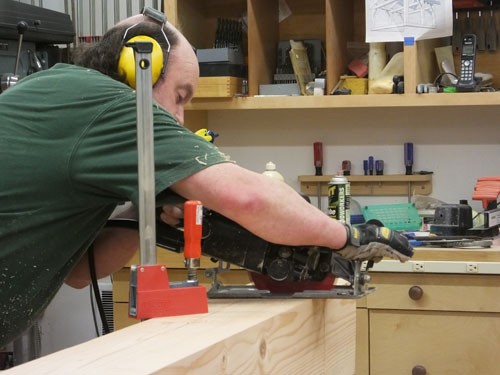
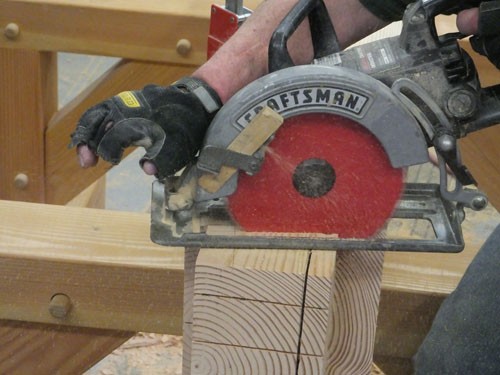
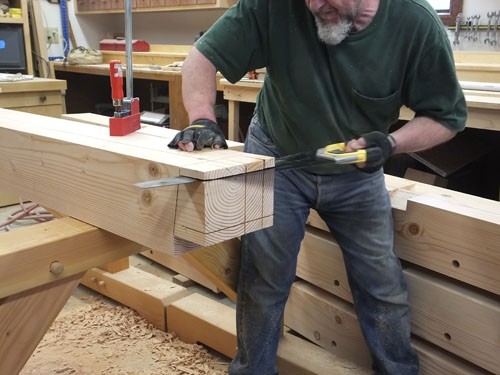
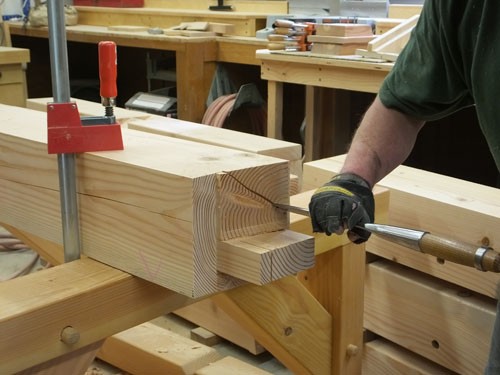
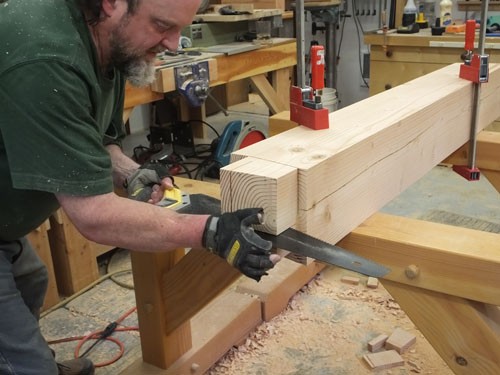
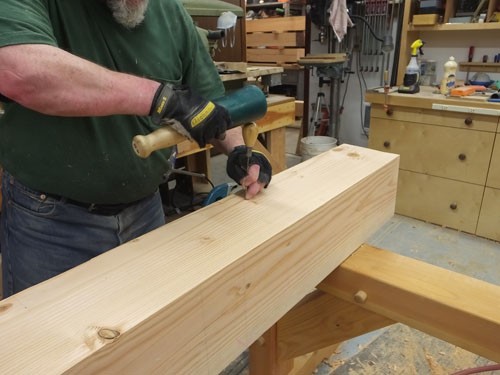
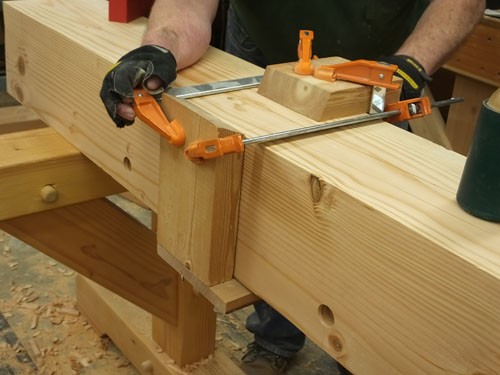
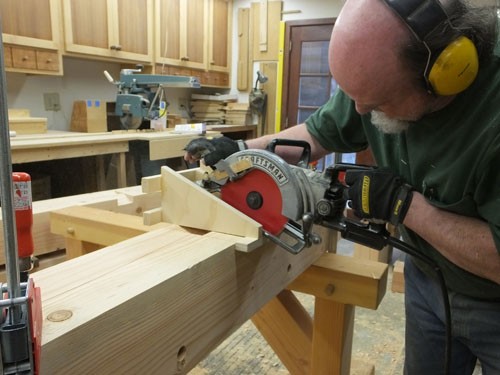
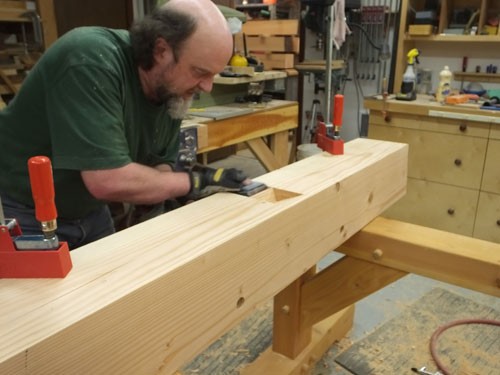
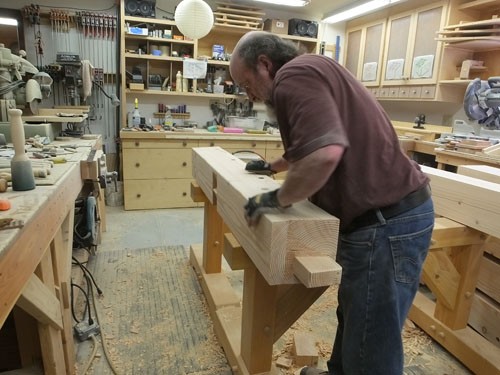
Back from lunch Dan starts to make the power saw cuts on the tenon with the partially diminished haunch (end with angled cut for part of it).
Using his Sawsquatch skill saw (10 1/4 inch blade) he can cut deeper than with his small saw and minimize the hand sawing and save a little time.
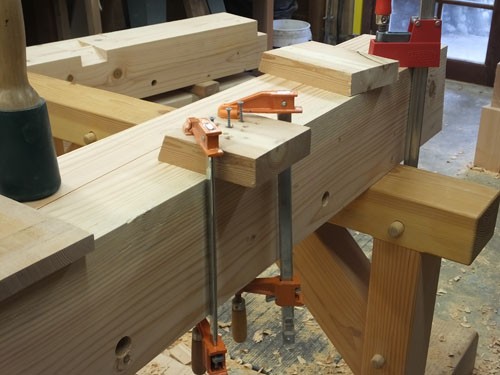
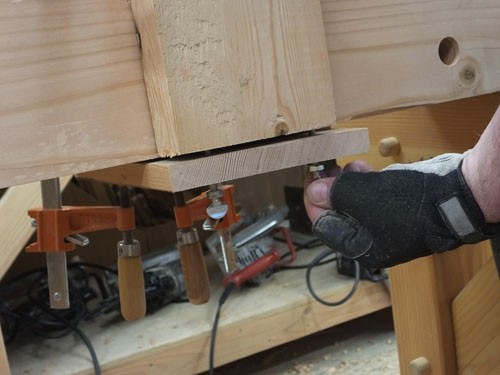
Rotate, clamp, and cut.
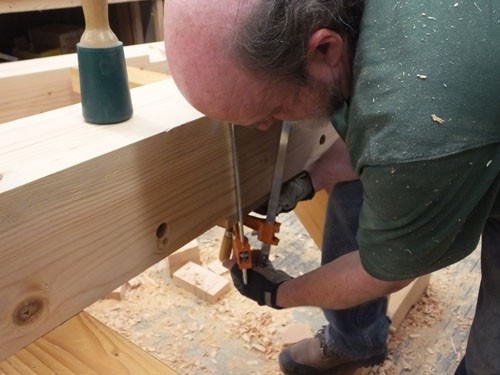
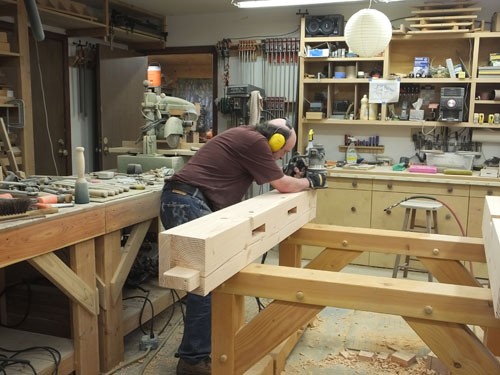
Time to hand saw. A little lubricant spray helps with the friction.
Rotate, clamp, and cut.
eeerrrr vum eeerrr vum eeerrr vum
And from the top:
eeerrr vum eeerrr vum eeerrr vum
eeerrr vum eeerrr vum eeerrr vum
Bap Bap Bap with the mallet.
Remove the wood.
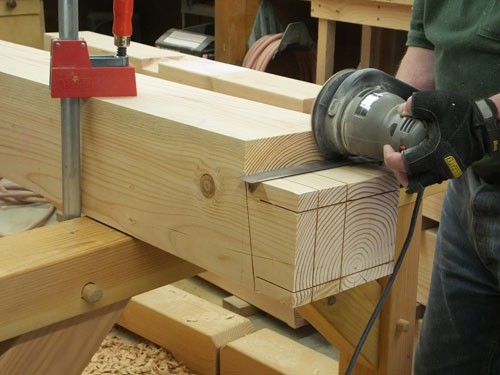
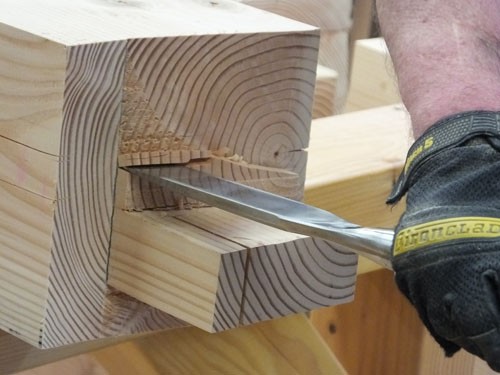
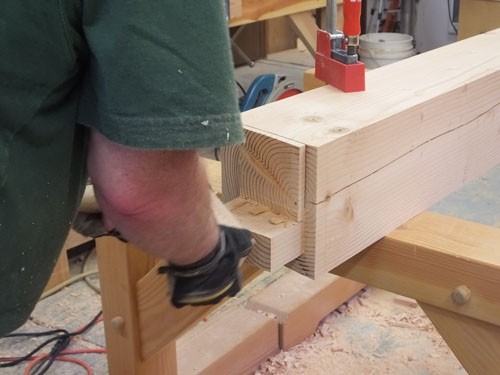
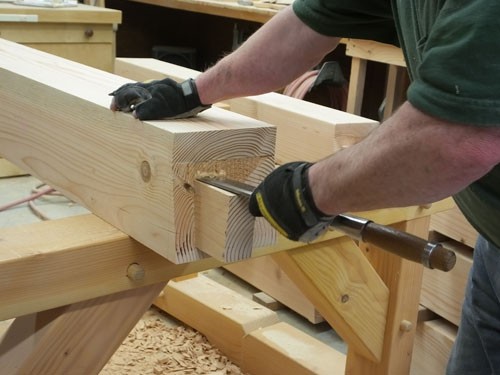
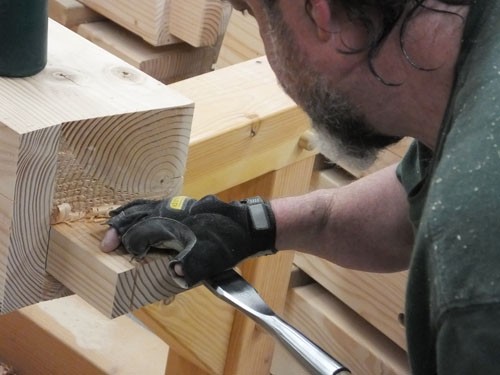
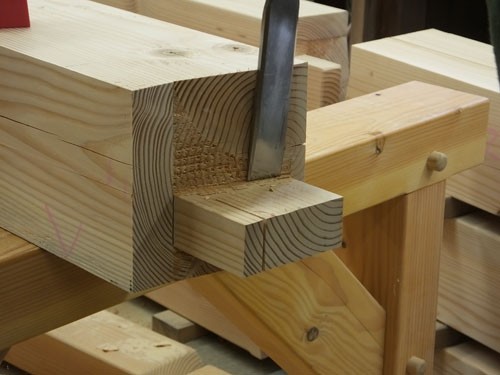
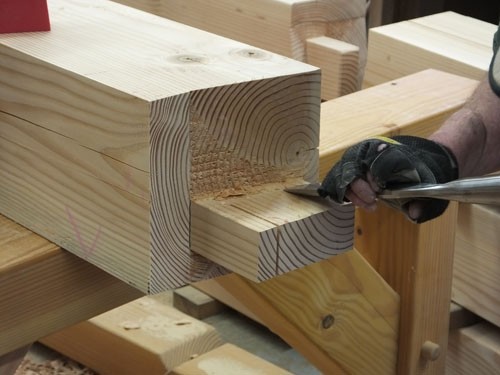
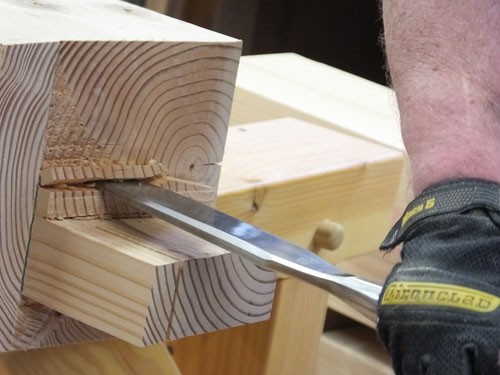
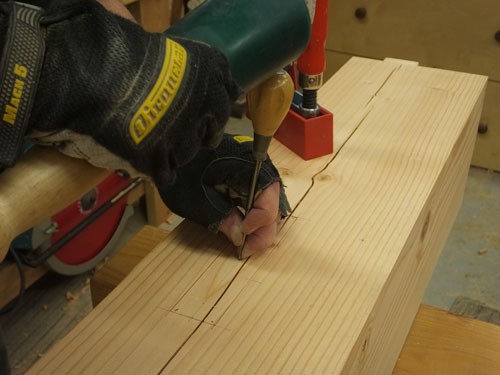
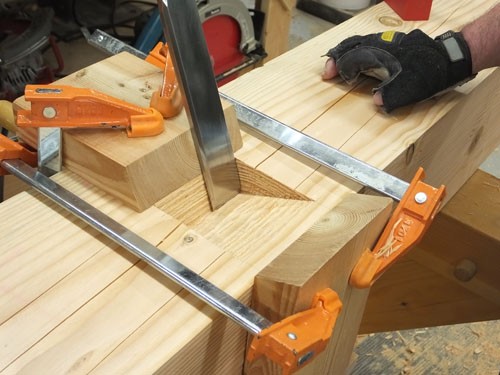
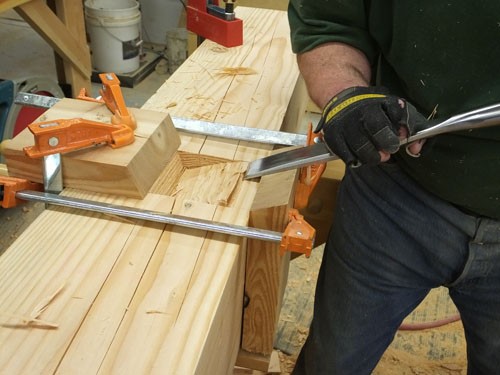
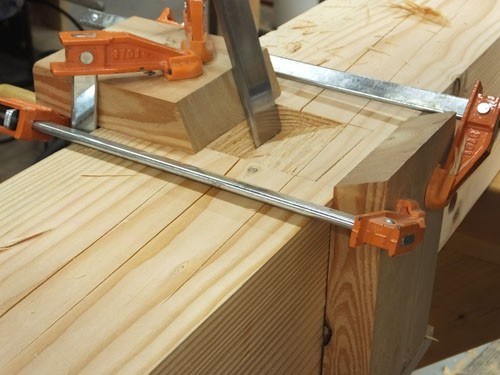
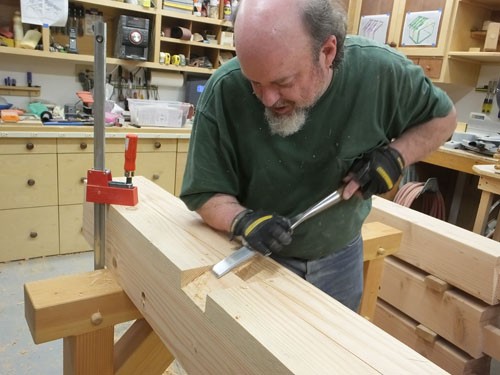
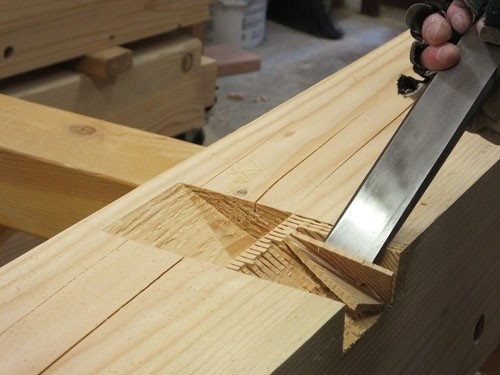
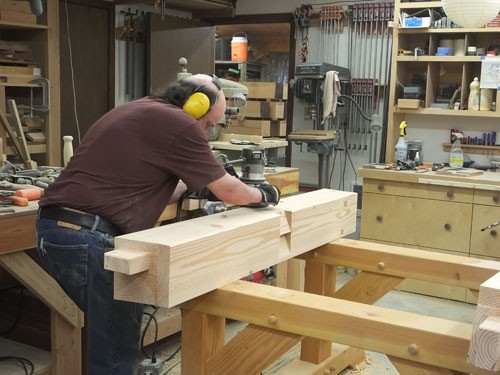
Now to remove the cheek cuts from around the tenon.
A little chisel work to clean the edge.
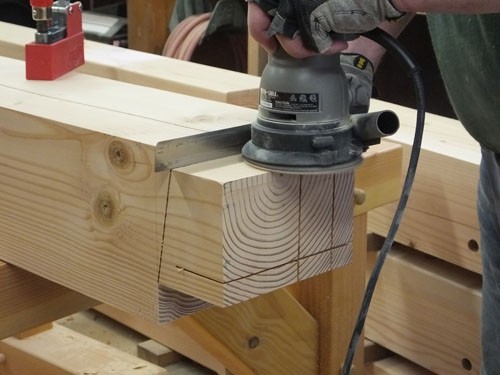
Smooth it with the sander.
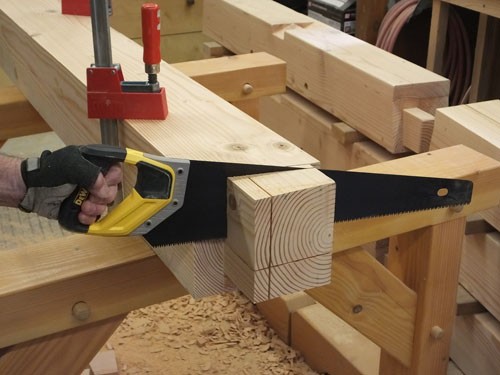
Rotate, clamp, cut the next cheek cut.
Bap. It's gone.
Sand the top of the tenon using a ruler as a sanding fence to protect the shoulder from the sanders edge.
Rotate and cut.
Chisel, chisel, chisel.
eeerrr vum eeerrr vum eeerrr vum
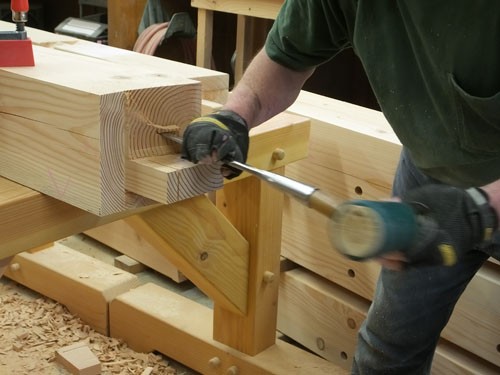
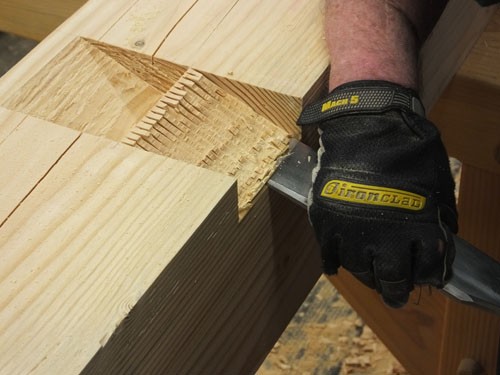
Mark the line for the cut. Because of the partially diminished haunch a relief cut is made to remove most of the waste.
eeerrr vum eeerrr vum
Bap bap
More chisel work to clean off the excess.
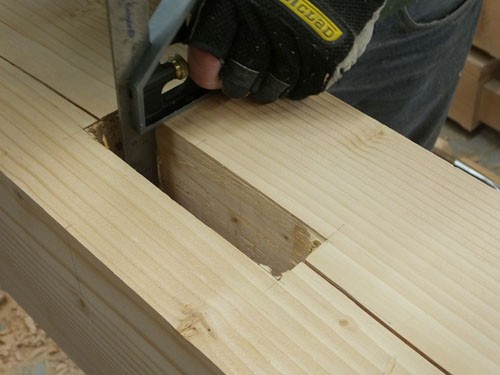
Now for the last cheek cut.

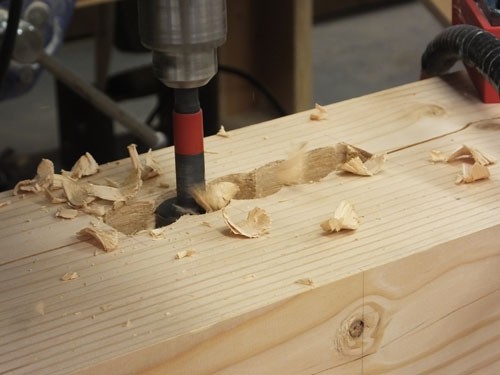
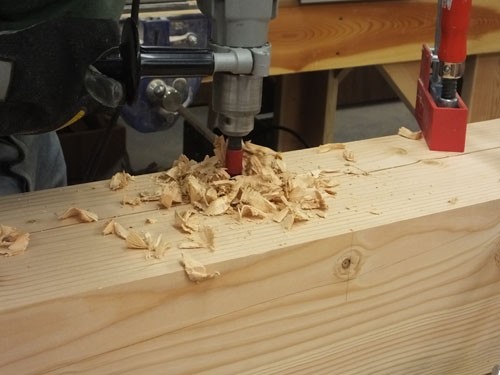
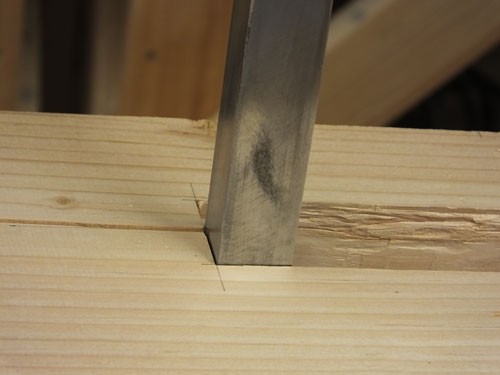
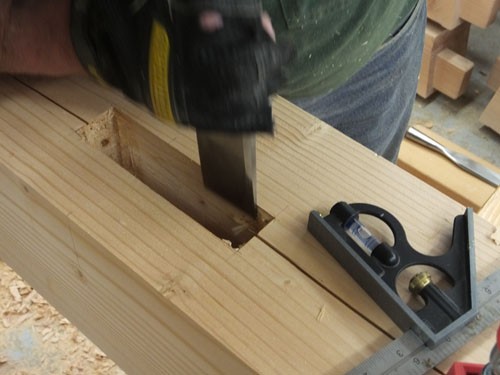
First sever the wood fibers along the edge of the mortise.
Then make guide holes with an awl.
The four corners and five down the center line.
Drill 1/4 inch holes in the corners and 1/8 inch holes down the center.
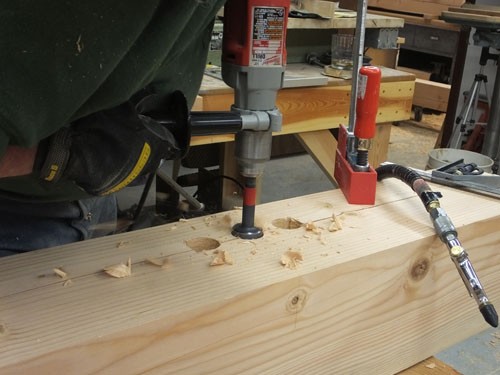
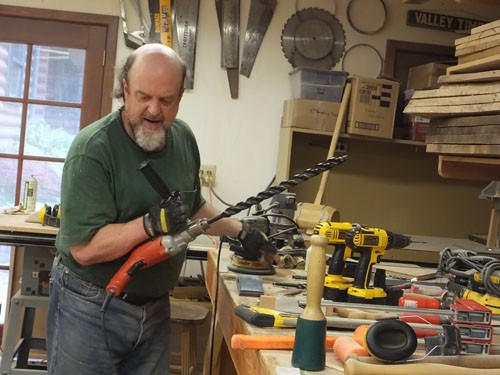
Using the center guide holes drill out center holes with a 1 1/2 inch bit.
Check for depth.
Repeat for hole #2, #3, #4, and #5
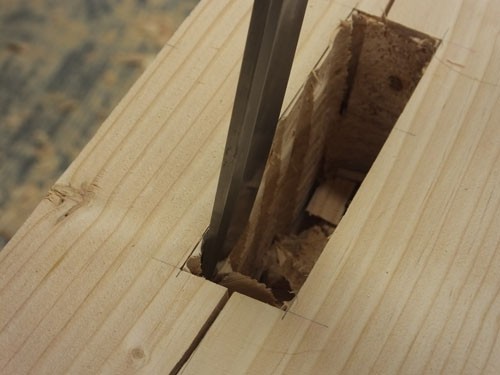
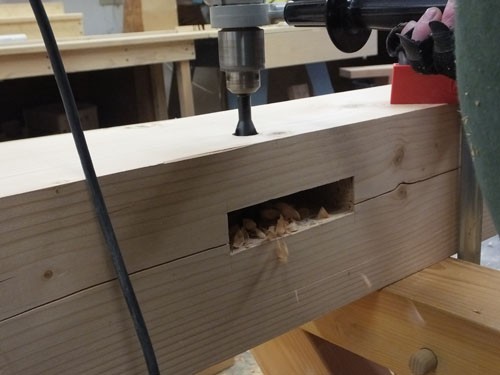
After the drilling is complete it's time to start the chisel work.
Checking for areas of the side that are still standing proud into the mortise.
And clean up those areas.
Dan discovered that by drilling a small hole in the corner to begin with it acted as a relief cut for the corner chisel.
This technique helps the corner chiseling go much smoother.
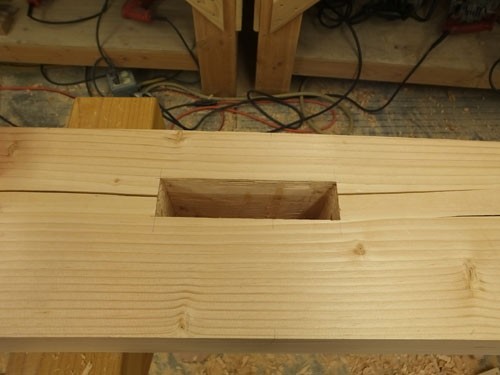
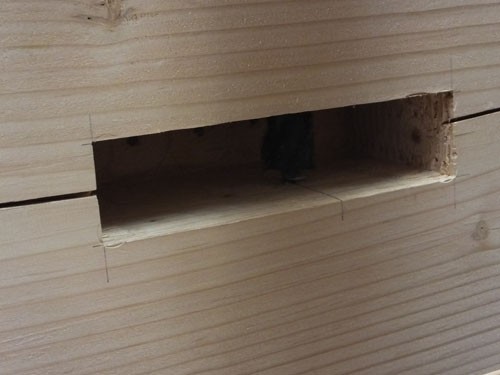
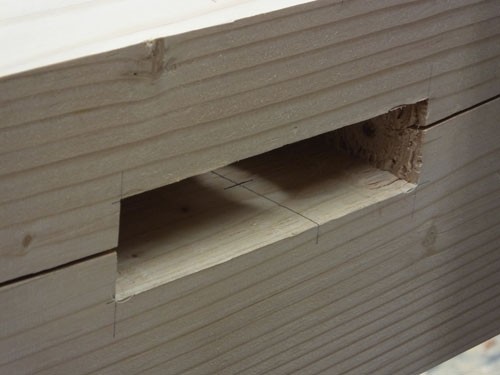
A beautiful mortise.
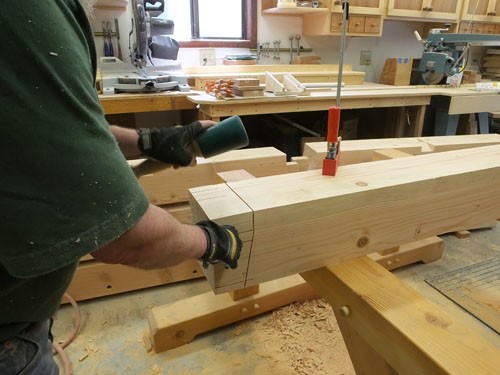
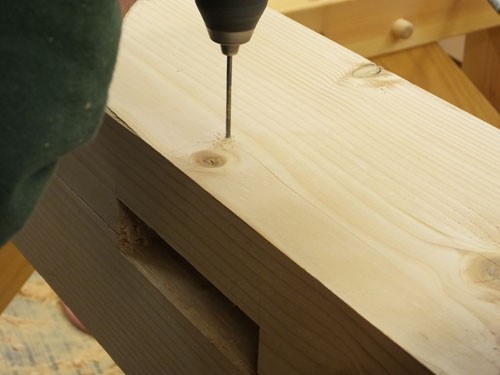
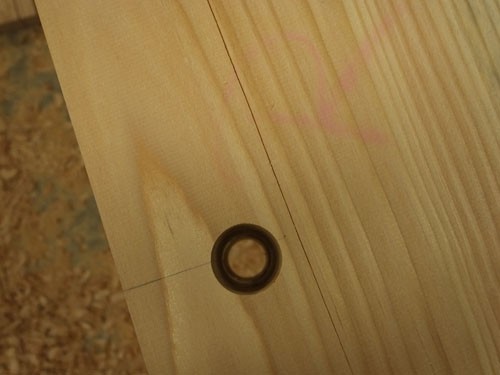
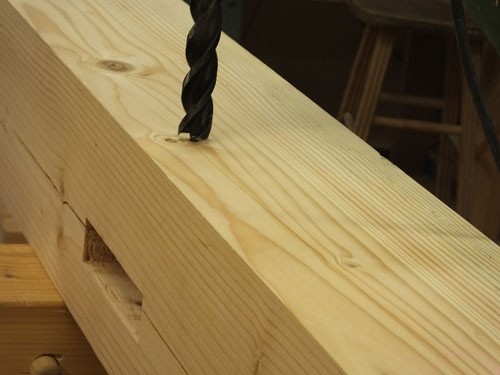
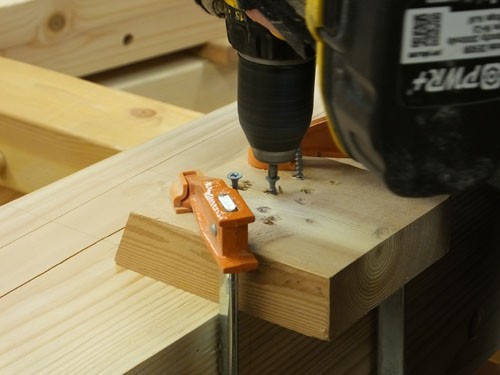
Time to drill the peg holes.
Rotate and clamp.
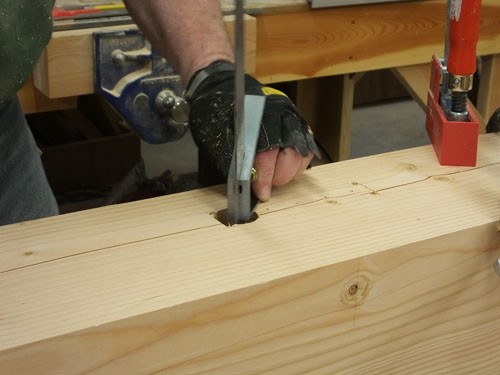
Mark the hole with the awl...
Drill a pilot hole...
Insert a scrap to prevent tear out on the backside...
Drill the hole into the mortise...
Remove the block and draw intersecting lines on the opposite side of the mortise...
Continue drilling through the mortise...
Switch to the big bit...
Drill so that just the tip comes through, but not so far as to cause tear out around the hole...
Back to the small bit...
Rotate and finish the hole from the backside.
A perfectly aligned peg hole.

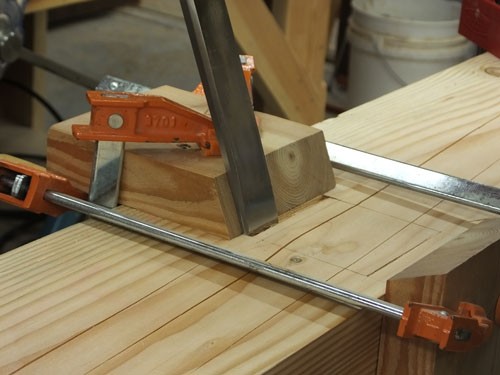
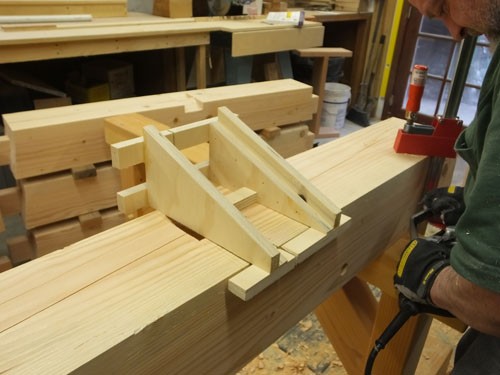
Time to start the step lap rafter seat. Using a three piece jig Dan made he will set up for the first part.
Clamp and attach piece #1 on the first layout line.
Clamp piece #2 to the bottom of the timber.
Clamp piece #3 on the back, resting on top of piece #2.
The thumb screws can be adjusted to move piece #3 up or down.
The area the screws are attached to will be removed on the next part.
Piece #3 should be at the exact height to guide the chisel to the starting edge line.
Dan starts by severing the wood along the edges.
Then starts to remove wood.
And keeps removing a little at a time.
Until the chisel lays flat on the same planes as the two jig guides.
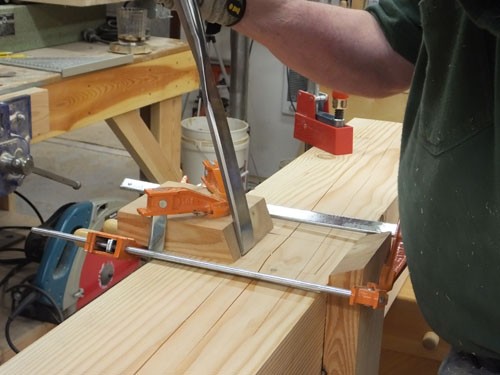
After removing the jig it's time to start the second half of the step lap.
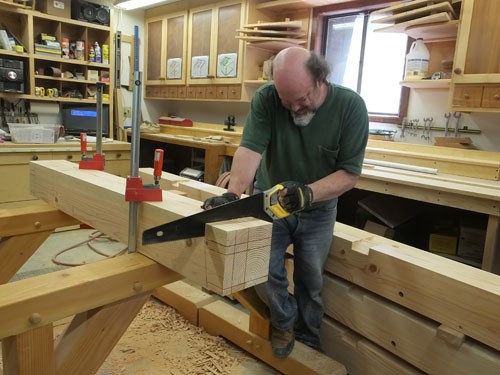
Dan sets the second jig for this joint on the timber.
The runners on the jig keep the saw at the proper angle for the cut.
Multiple cuts are made moving the jig over a little at a time.
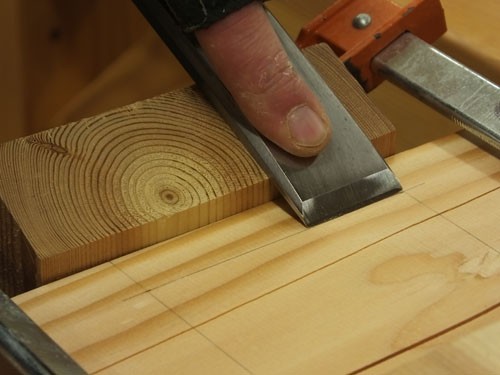
Then the waste is removed with a chisel.
And cleaned up and sanded.
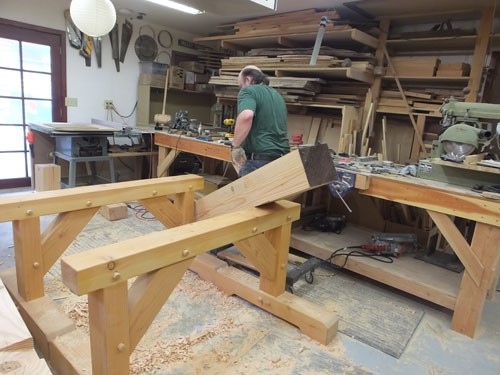
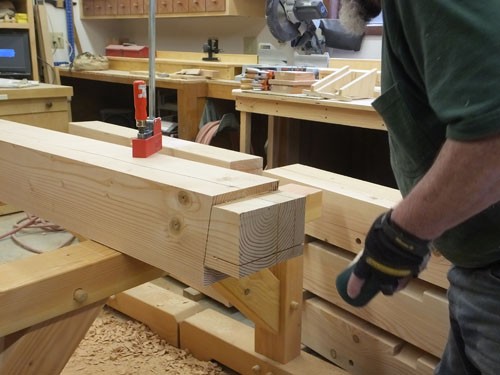
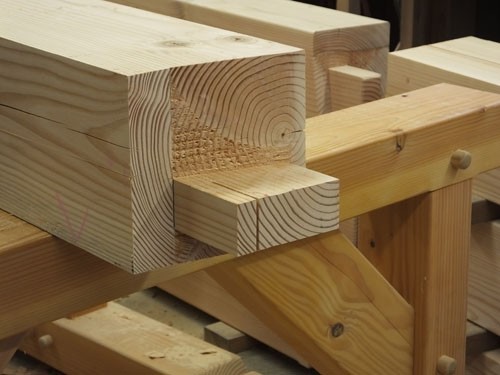
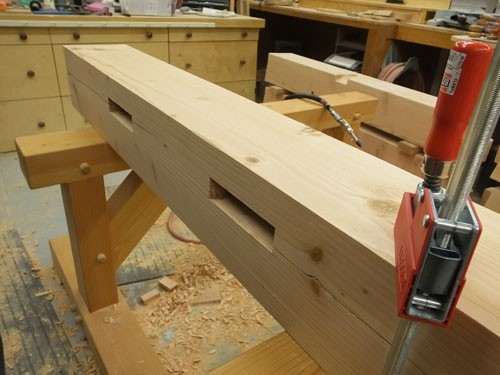
And all the joinery is complete.
Now for rounding and sandovers. Ah, I mean sanding and round overs.

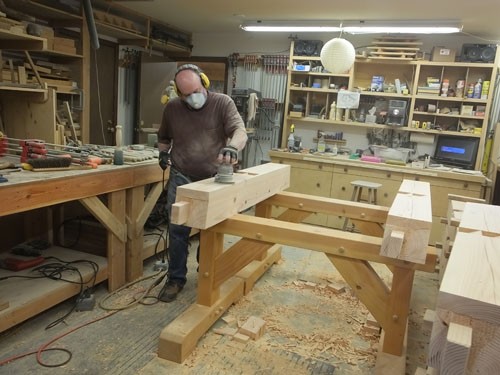
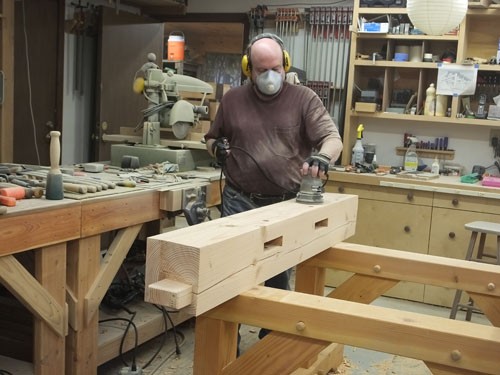
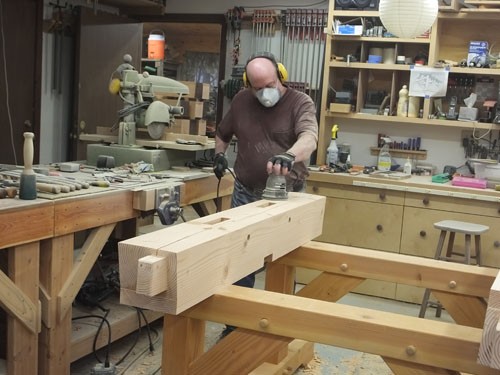


Using a random orbital sander Dan sands off planer marks and blemishes.
And the second side...
And the third side...
And the forth side.
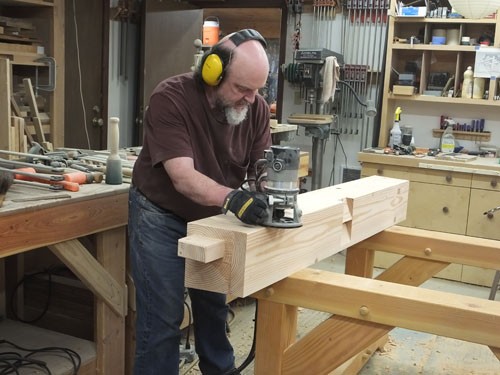
The last step is to round over the edges. A small mark is made where the round over should stop.
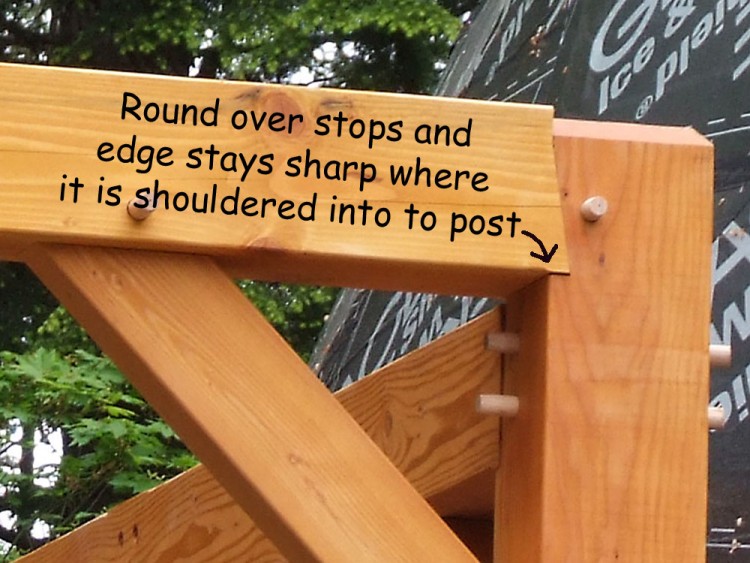
A nice little detail.
Down both sides.
Roll it over, do the other two edges.
A little hand sanding takes care of any rough spots or burning from the router.

This one's ready for the done pile!
Next up Girt # 8 of 12
Now that the tenons are done, onto the mortises.


Back to 2016 page

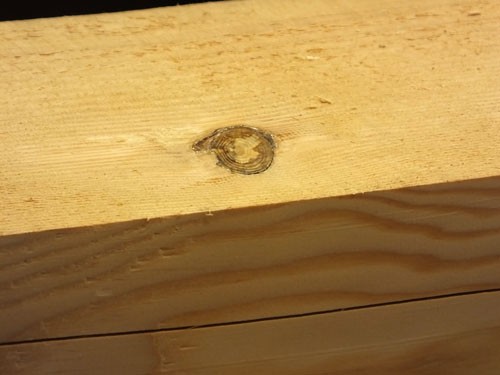
And sometimes knot.
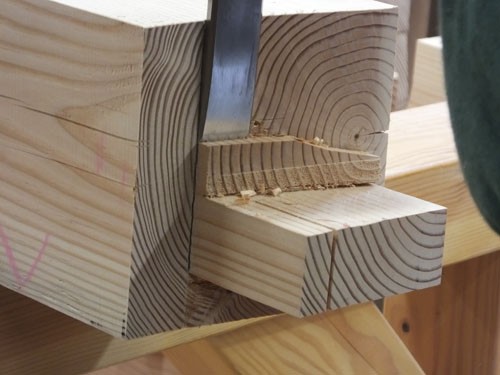
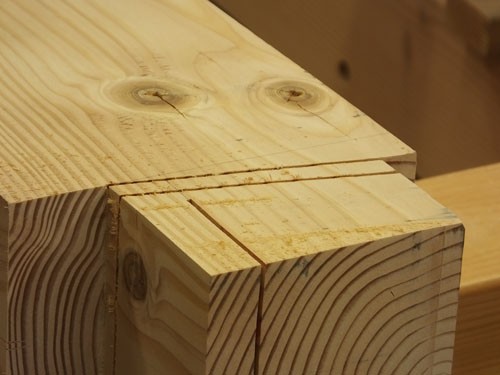
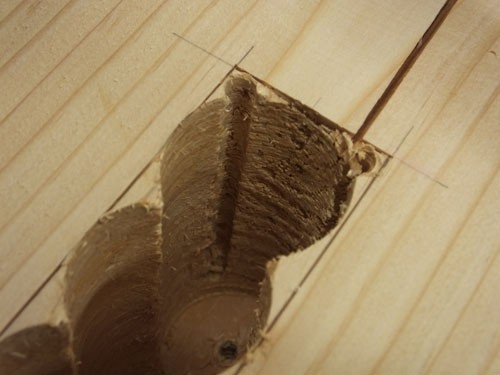
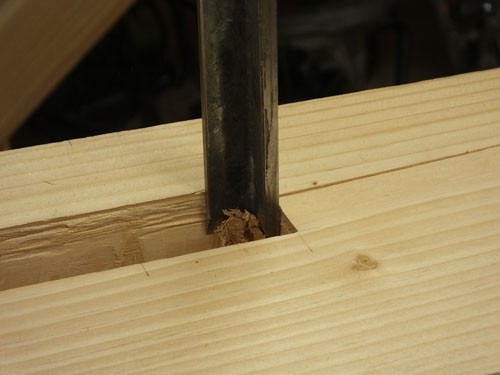
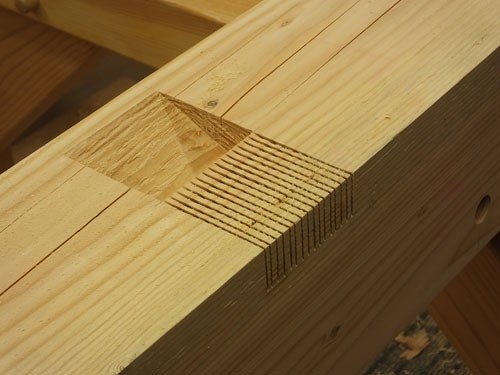
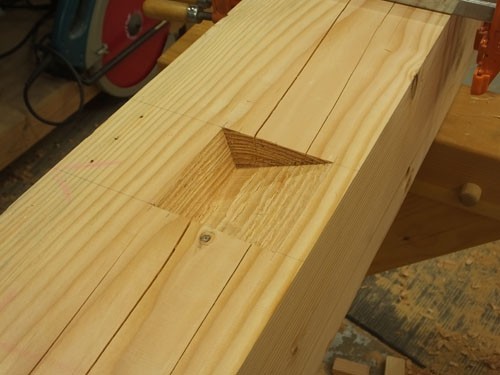
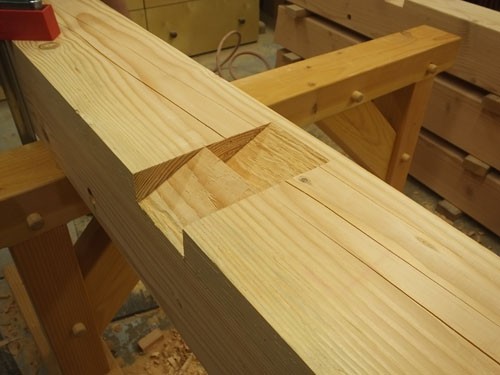
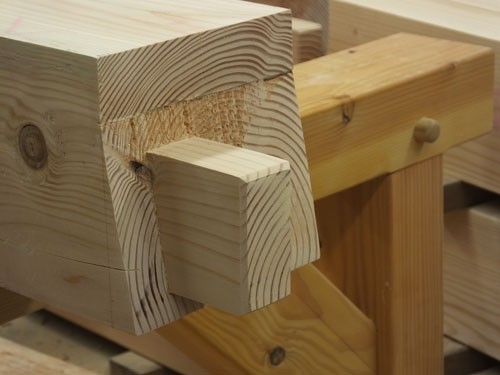
And there you have it. A shouldered (fits into a recess in the post) offset tenon (not centered) with a partially diminished haunch (part of the shoulder is angled and part is not).