


The Anatomy of a King Post


I am starting the king post page after the squaring and planing has been done since this was covered in "The Anatomy of a Girt" pretty well with no new elements.
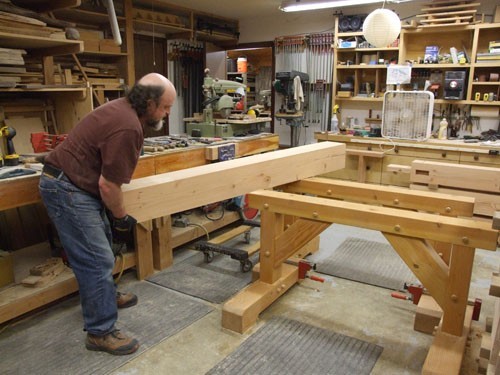
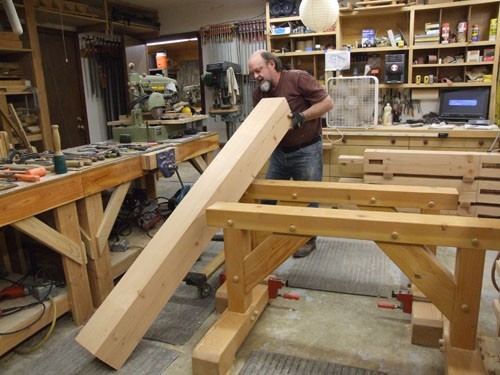
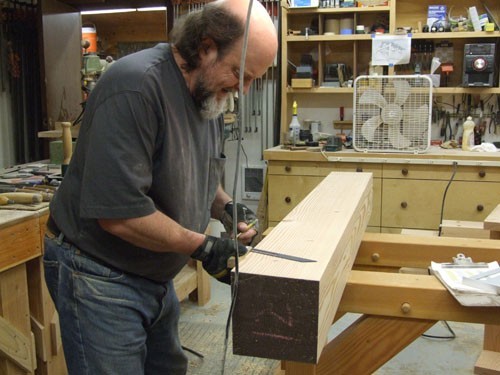
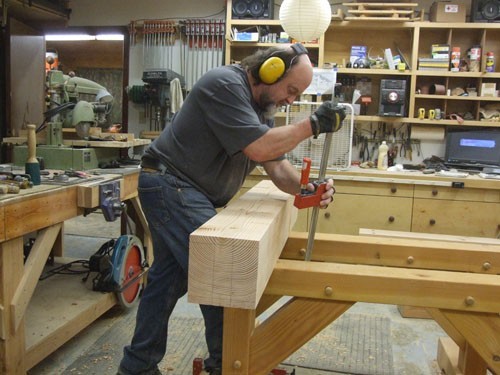
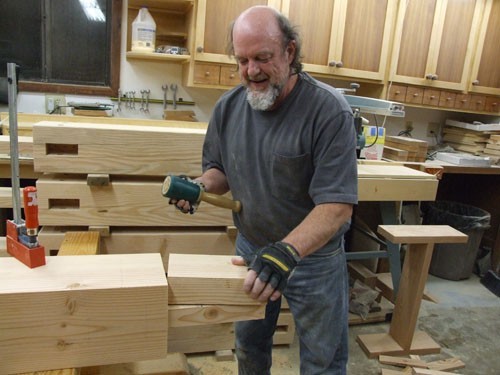
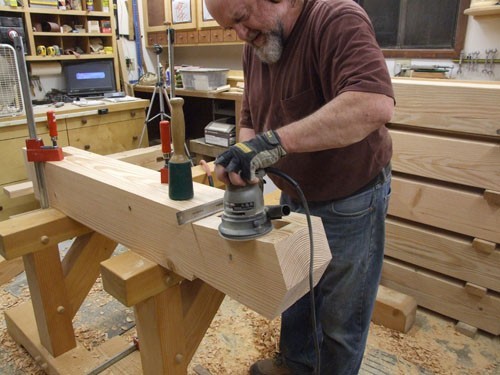
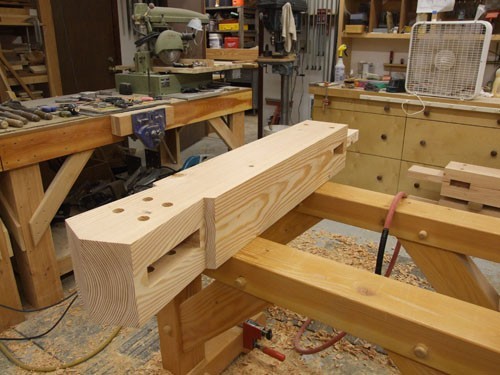
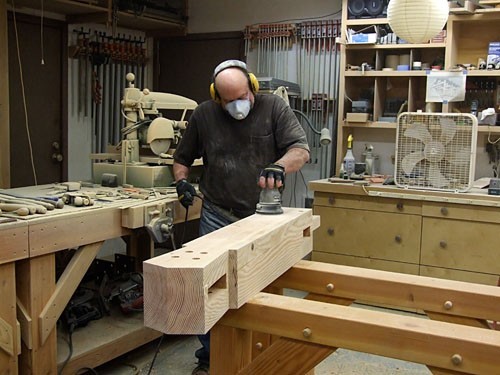
Bringing the timber into the shop and putting it up on the sawhorses.
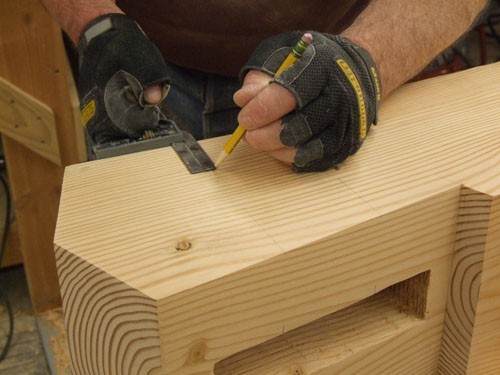
Squaring the end and starting layout.
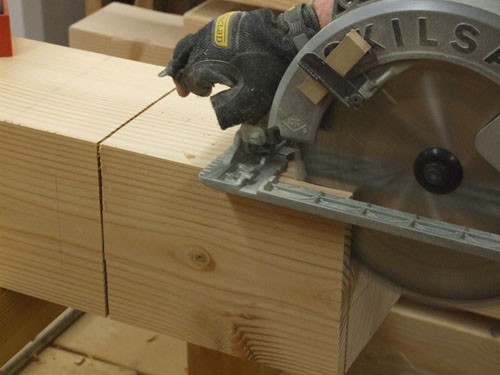
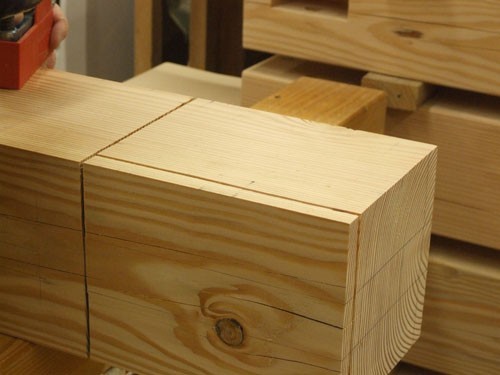
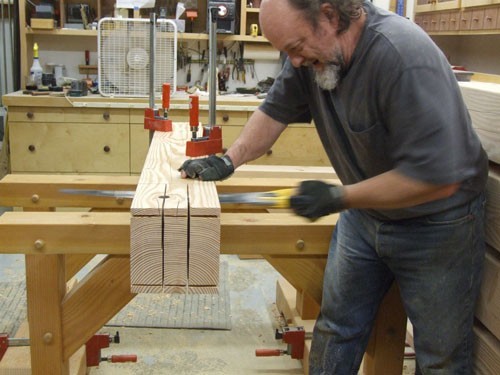
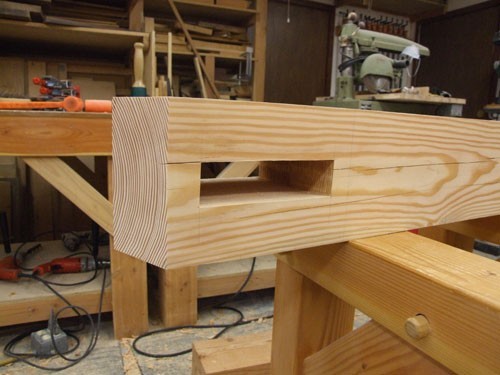
Laying out the very distinctive keystone shape of the top of the king post.
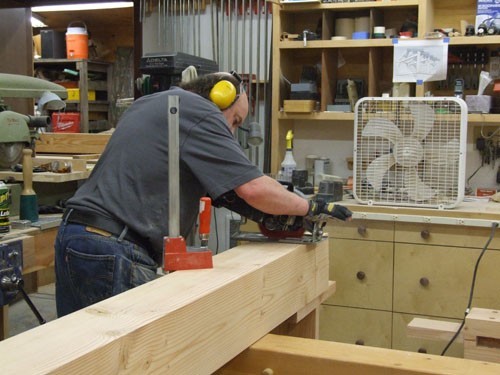
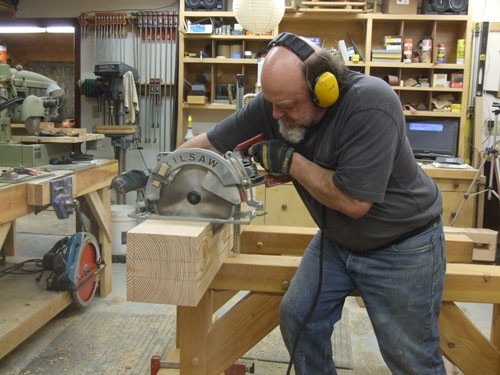
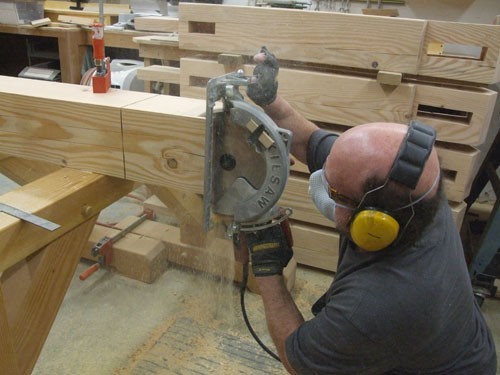
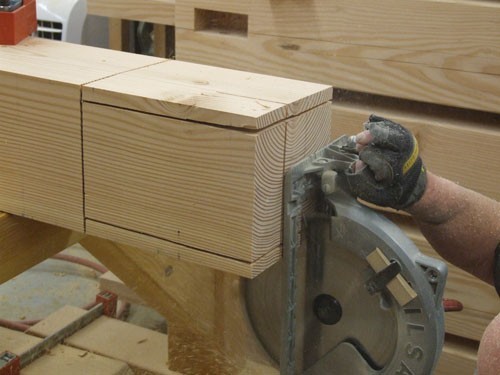
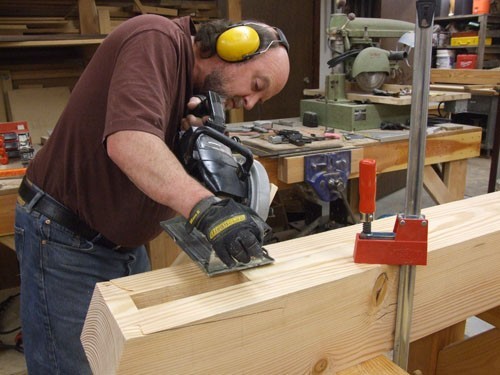
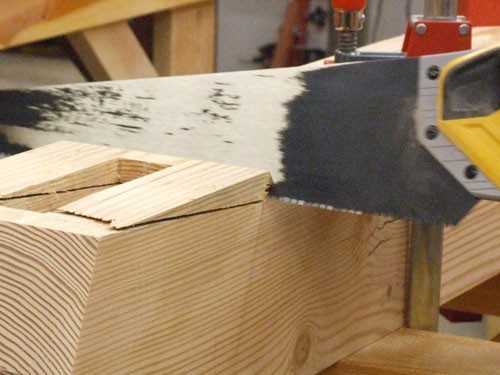
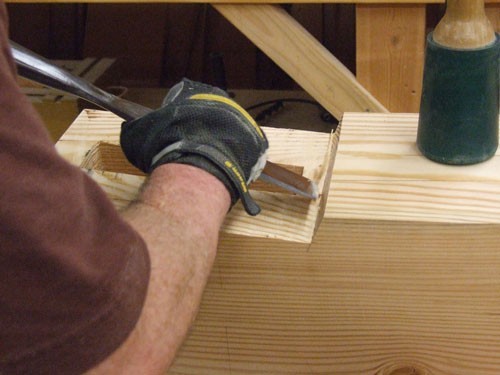
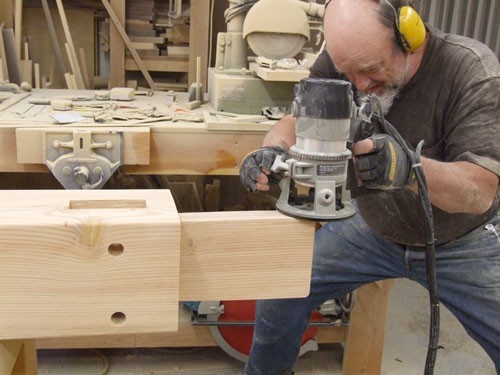
Using the beam saw to make the deep cut.
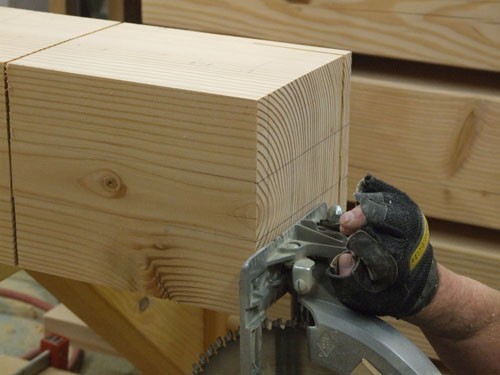
Roll over the timber and finish the cut.
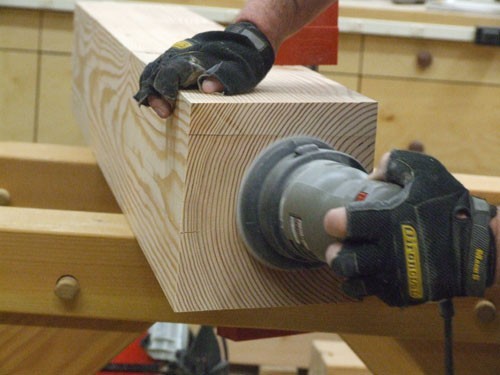
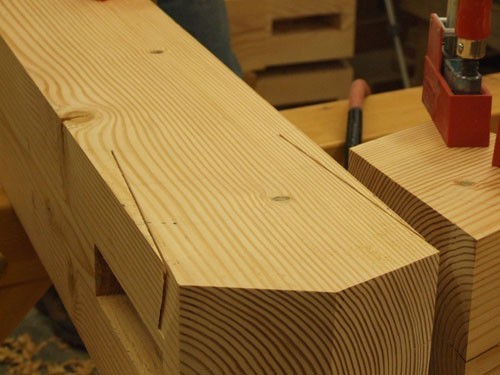
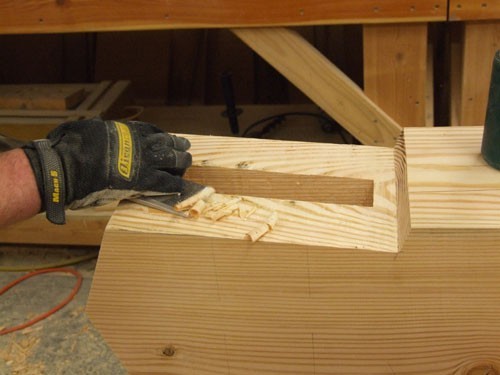
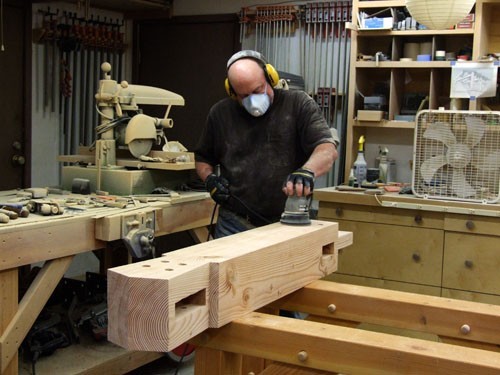
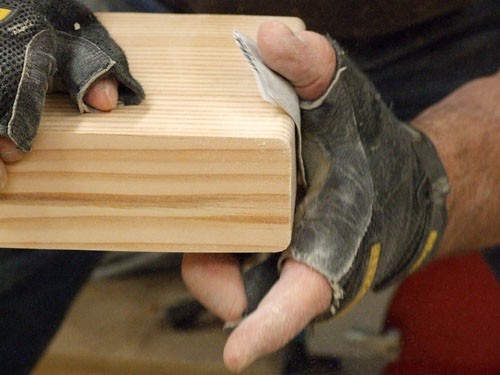
Sand the ridge out.
Roll over and repeat.
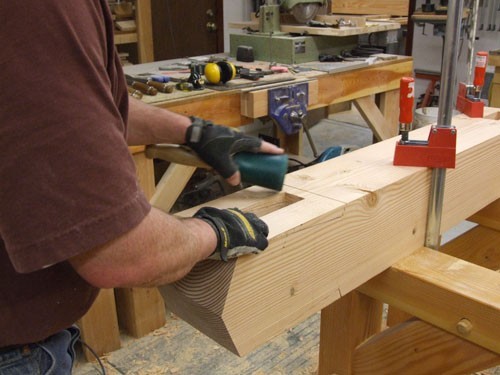
The timber frame roofs will have a 6-12 pitched roof. The king post is cut at 22.5 degrees to accommodate this.
Now for the other end.
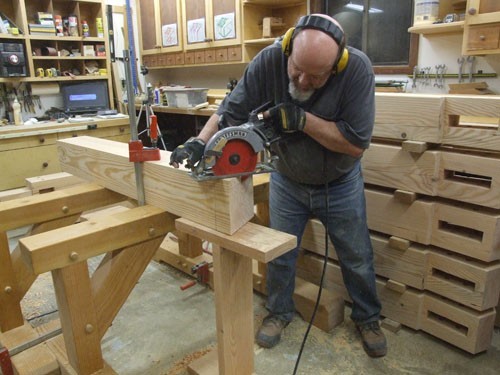
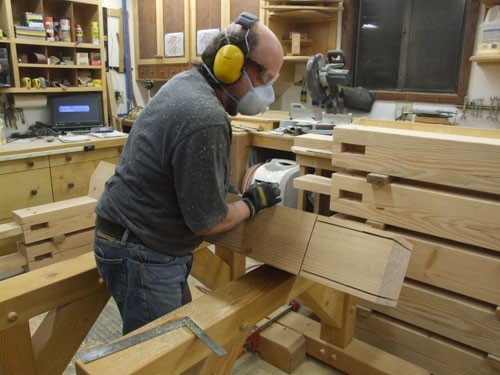
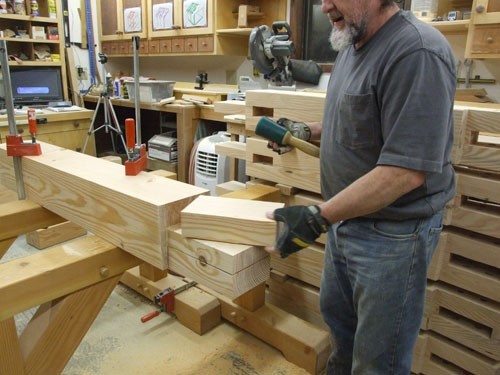
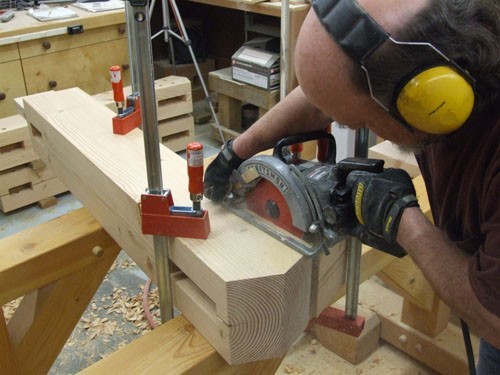
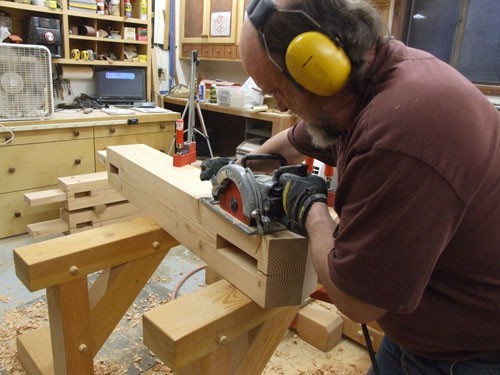
After setting the saw to depth, Dan begins making the shoulder cuts.
It gets rolled around many times in the course of making the tenon.
Cut.
Roll.
Cut.
Roll.
Cut.
Until it's been cut to the proper depth on all four sides.
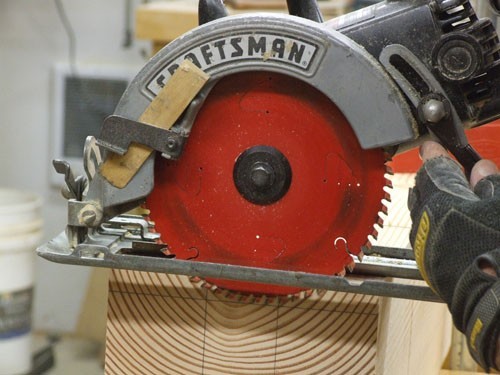
Setting the smaller saw to a shallower depth.
Now for the vertical cuts.
The more that can be done with the power saw the less hand sawing will be needed to finish.
Both small shoulders are cut first.
Then the two larger shoulder cuts.
There's the tenon in the middle.
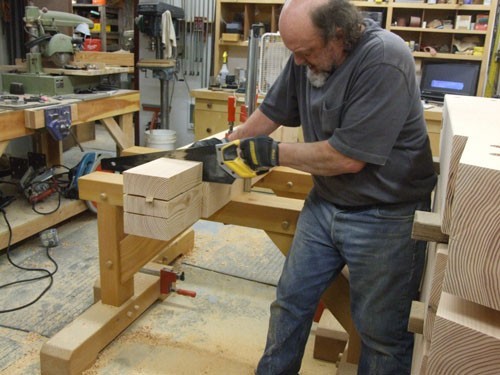
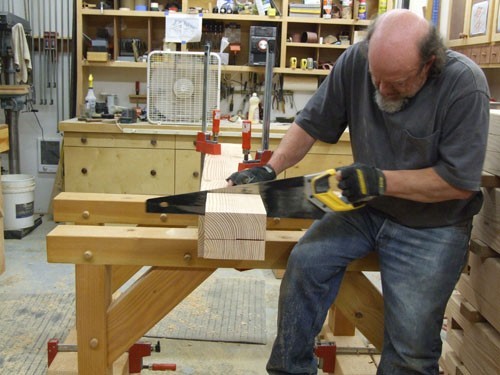
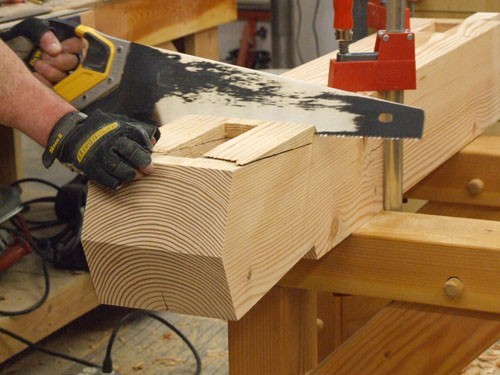
Time for the hand saw.
And the first shoulder is removed.
A little clean up with the chisel.
A little more hand sawing.
Now both small shoulders are gone.
Now for the large shoulders.
There's one.
A little clean up.
The last shoulder.
A beautiful 9 3/4 x 6 x 2 inch tenon.
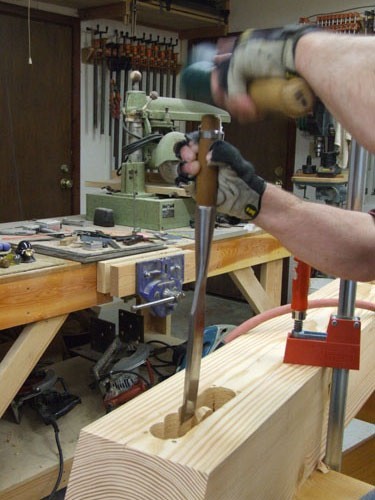
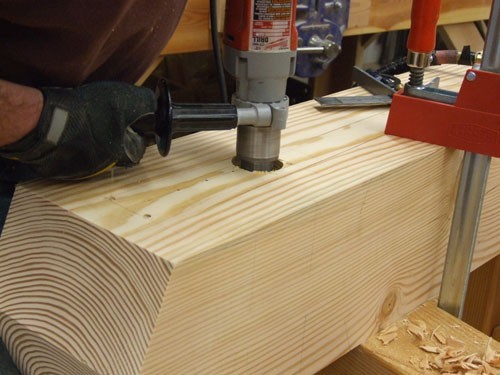
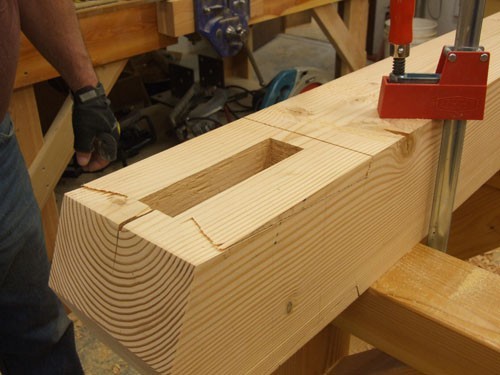
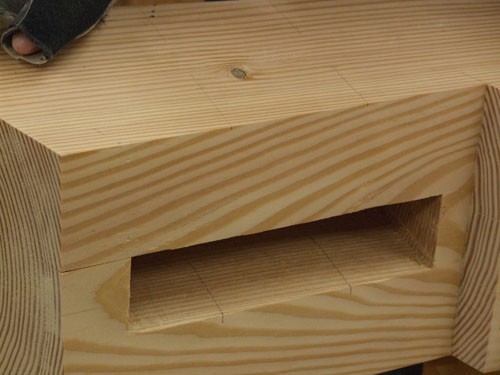
Time to make the mortises. On each side there is one smaller mortise near the bottom for the strut and one larger mortise near the top for the rafter.
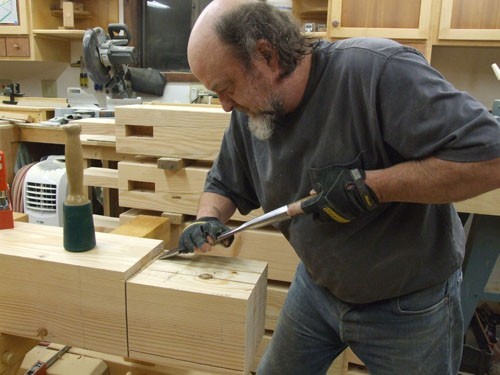
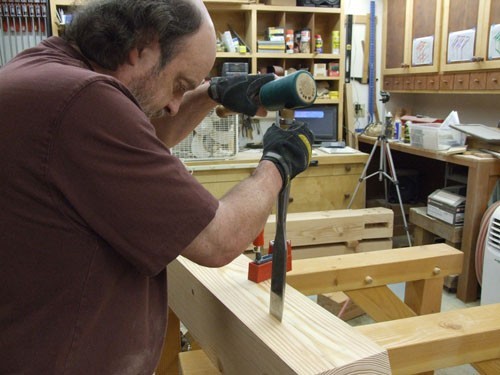
Dan starts by severing the wood fibers.
The mortises in the king posts are wider than the mortises in the girts. Dan uses his two inch chisel for these mortises.
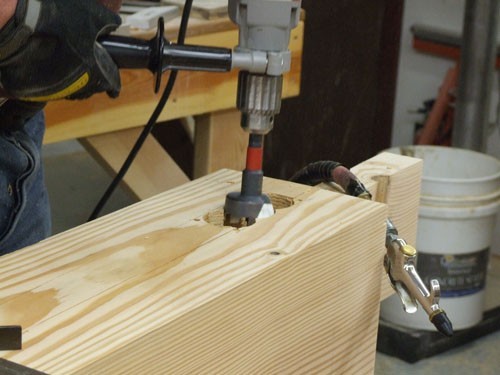
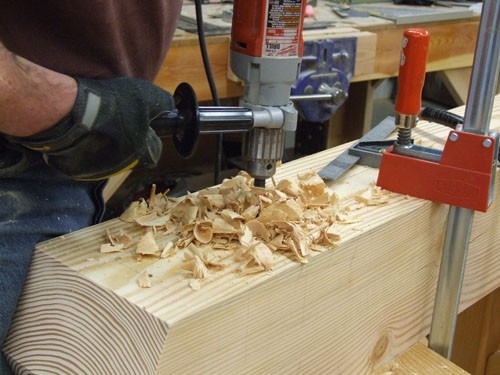
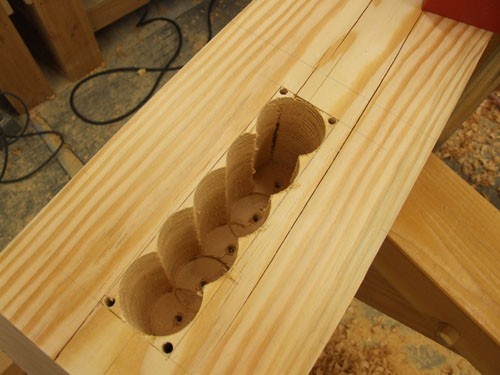
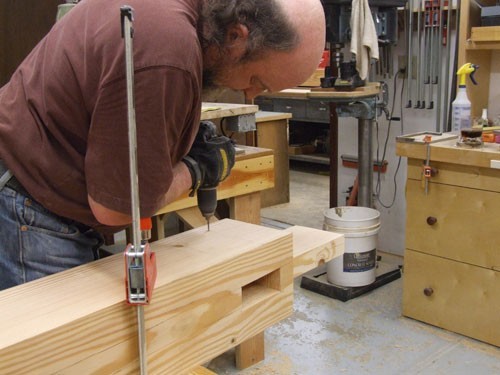
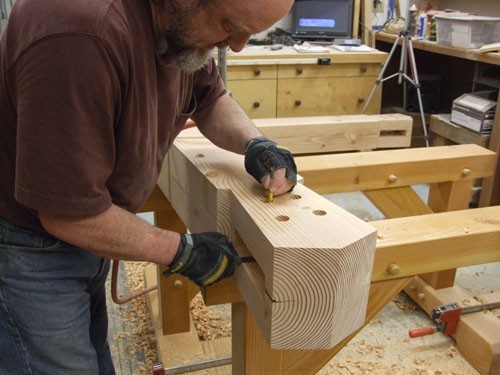
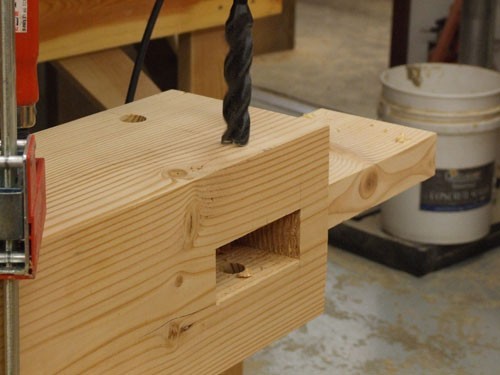
Marking and drilling the pilot holes and corner relief holes for both mortises on one side.
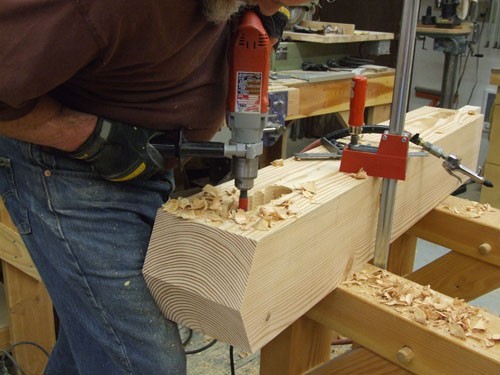
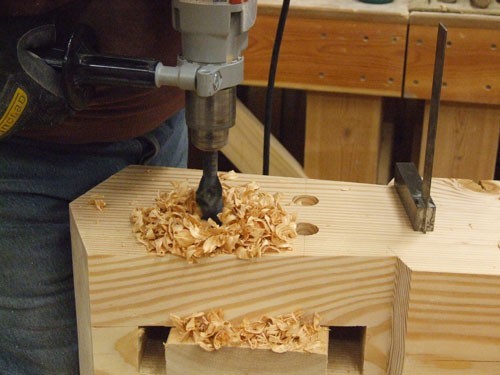
He drills three holes in the strut mortise to remove most of the wood.
Checking for depth.
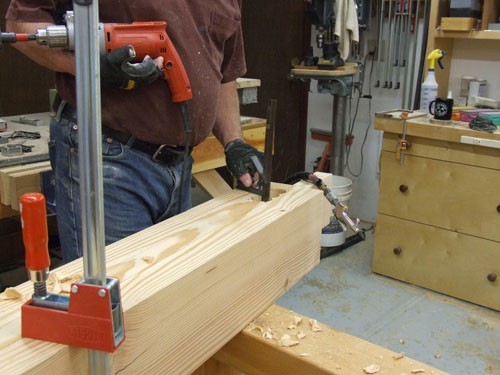
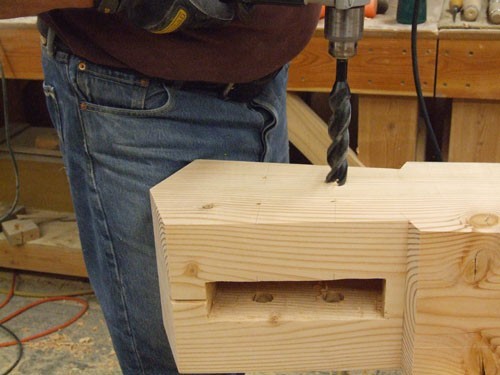
The two inch wide mortises require a larger drill bit also.
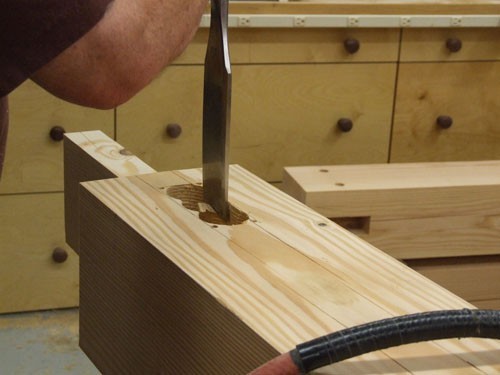
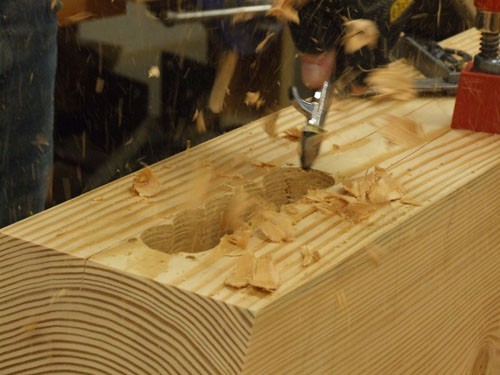
A little chisel work.
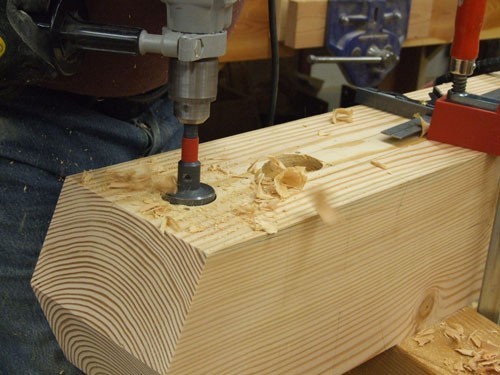
Time to start the larger mortise.
Ready to start the chisel work.
As much wood as possible has been removed with the drill.
Lunch time.
A little at a time on the sides then onto the corners.
Using the two inch side of his framing square Dan tests the mortise for width size.
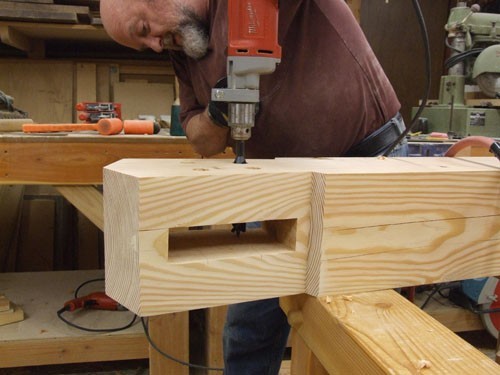
Time to make the mortises on the other side.
The two rafter mortises almost meet in the middle.
Rather than leaving a thin web of wood Dan adjoins the two mortises.
Rather than leaving a thin web of wood Dan adjoins the two mortises.
The mortises are complete.
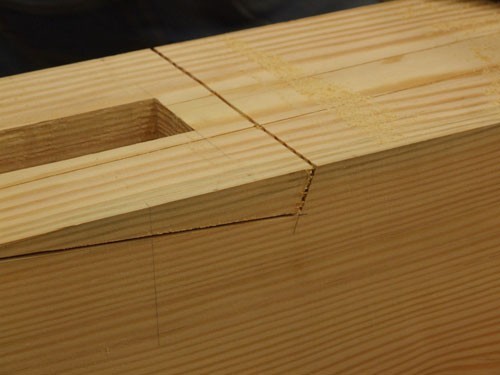
Next is the shoulder cuts.
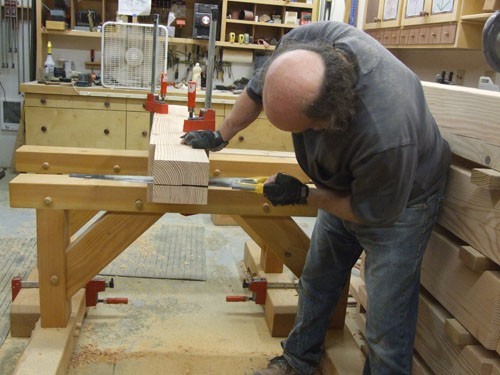
Dan makes an angled cut on one side.
He uses an off cut to help support the saw for the cut on the other side so as to make sure the saw does not tilt.
Once those two cuts are made he rolls the king post over.....
And makes the matching cuts on the reverse side.
Then bevel cuts across.
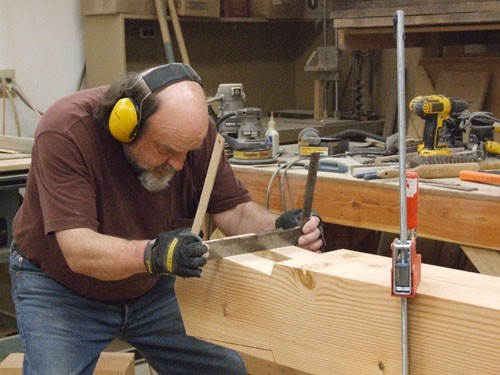
Ready for hand sawing.
Getting it started takes a little patience and finesse.
Getting it finished takes a little patience and muscle.
Finish the top cut.
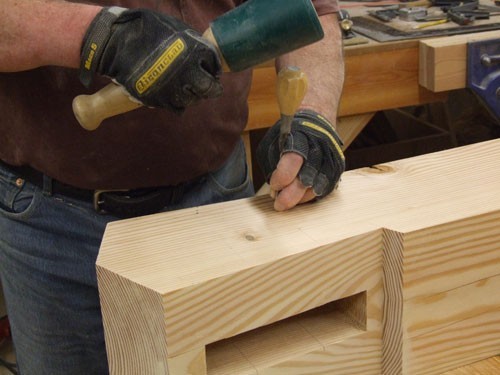
Bap it with the mallet.
Clean up the cut with a chisel.
Sometimes the two cuts don't line up perfectly and a little more chisel work is needed.
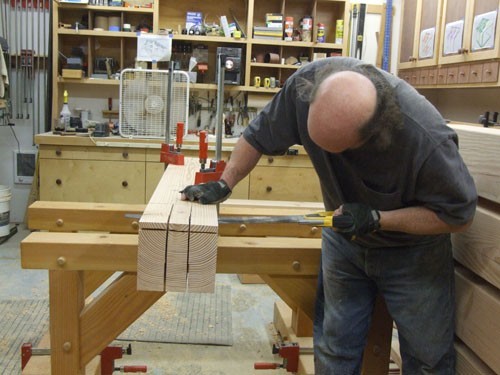
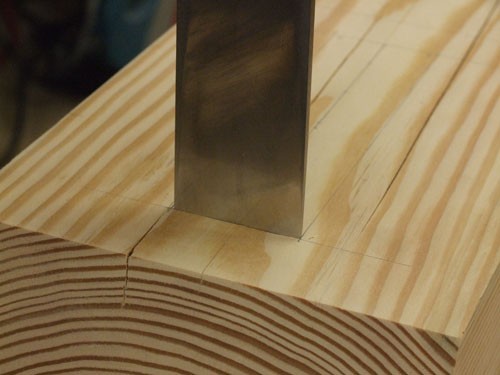
Using a straight edge Dan can check the plane of the shoulder cut.
And once perfection is obtained the timber is rolled over and the other side is completed.
On to drilling the peg holes.
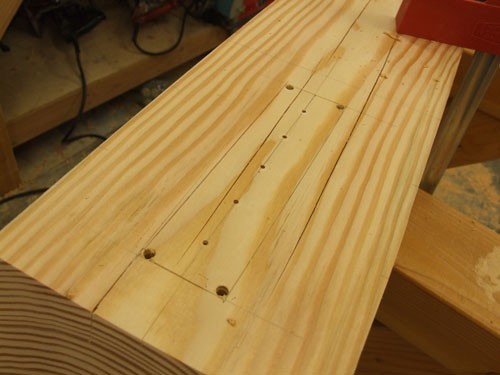
Layout for the rafter peg holes is done after the shoulders are cut.
Marking.
Pilot holes.
Pilot holes at the other end.
Using a block to prevent tear out (wood not cutting smoothly, leaving wood fibres protruding into the mortise).
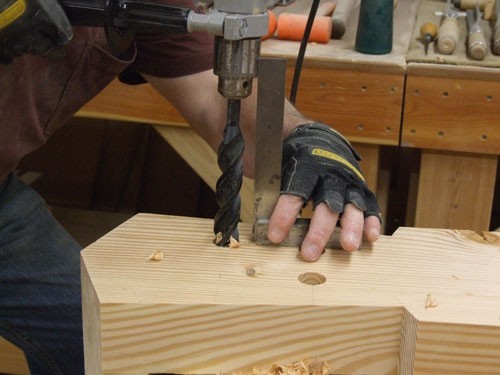
A square is a nice visual aid to keep the drill bit perpendicular.
Four holes (two for each rafter) are needed at the top of the king post.
Then the two holes for the struts near the bottom of the king post.
The holes are marked inside the mortise.
Dan continues the hole with the bit right on his mark.
Then he switches to the long bit and drills so that just the tip of the bit comes through the back side.
Then with the tip of the bit starting in the small hole made by the long bit just coming through he is able to finish the hole with no tear out.
The same thing is repeated for the other mortise.
All the joinery on this king post is complete. Just sanding and round overs left.
Side 1
Side 2
Side 3
And side 4
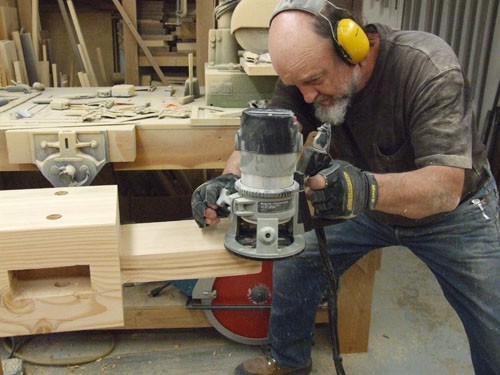
Routing the edges.
Since this is a through tenon (a tenon that comes all the way through a mortise) and the end will be visible Dan routes the end of it.
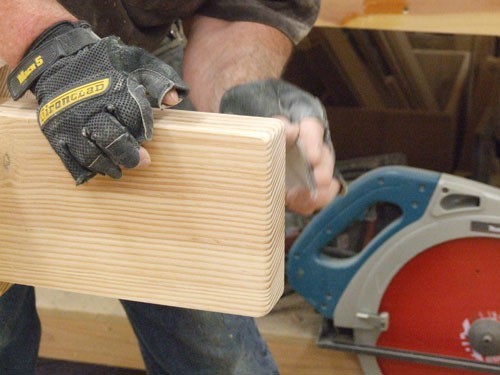
And sands it smooth.
Then up the sides of the tenon.
A little more sanding and this one is complete.
Back to 2016 page
